- Understanding LED Strip Lights: Types and Features
- Tools and Materials You’ll Need
- Planning Your Installation Layout
- Step-by-Step Guide: How to Install LED Strip Lights
- Tips for Installing LED Strip Lights on Different Surfaces
- Common Mistakes to Avoid During Installation
- Safety Precautions When Working with LED Lighting
- Troubleshooting: What to Do If Your LED Strip Doesn’t Work
- Conclusion: Light Up Your Space with Confidence
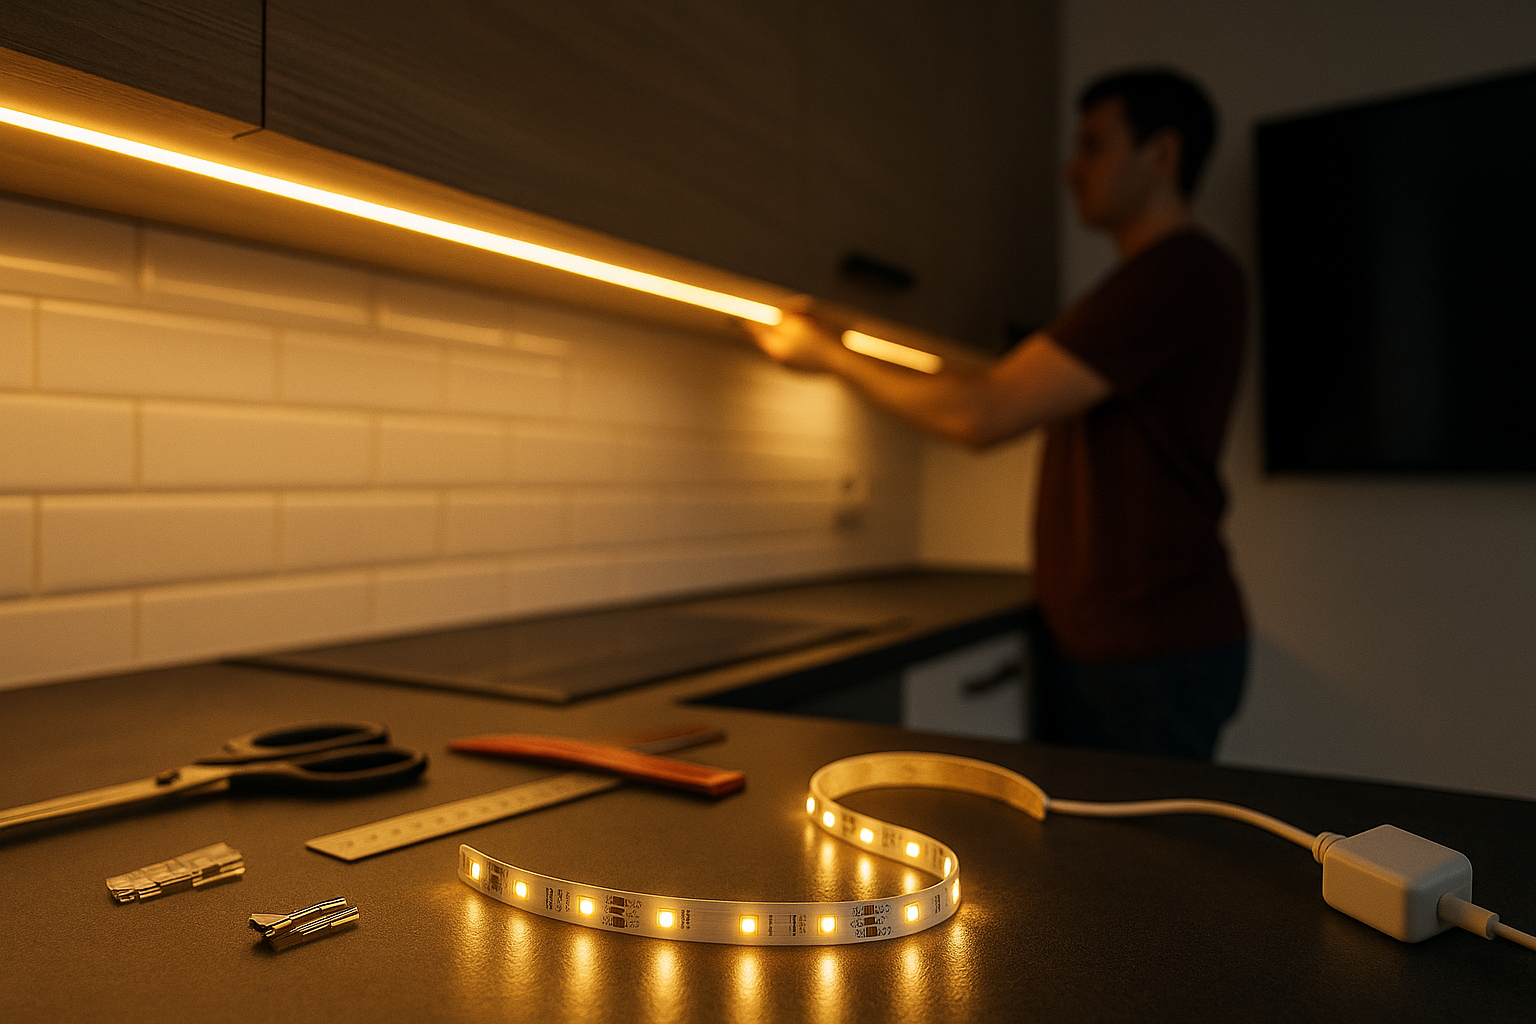
LED strip lights have become one of the most versatile and energy-efficient lighting solutions for both residential and commercial spaces. Whether you're enhancing your home ambiance, upgrading kitchen under-cabinet lighting, or accentuating architectural features, knowing how to install LED strip lights properly is key to achieving a clean and professional look. This comprehensive guide will walk you through everything you need to know — from choosing the right type of strip to the final installation and troubleshooting.
Understanding LED Strip Lights: Types and Features
Before diving into the installation process, it’s essential to understand the different types of LED strip lights available. Each type serves a specific purpose and is designed for varying levels of brightness, color customization, and usage environments.
1. Types of LED Strip Lights:
-
Single-color (white or warm white): Great for under-cabinet lighting or ambient illumination.
-
RGB strips: Allow you to change colors and are perfect for decorative lighting.
-
RGBW/RGBCCT: Include white LEDs alongside RGB for better brightness and natural lighting options.
-
Waterproof (IP65/IP67/IP68 rated): Ideal for outdoor use or areas with moisture, like bathrooms or kitchens.
2. Important Specifications:
-
Voltage: Most common are 12V or 24V strips.
-
LED density: Measured in LEDs per meter; higher densities offer smoother and more consistent lighting.
-
Wattage: Important for power supply calculation.
-
Control type: Options include IR remote, RF remote, Bluetooth, or smart home integrations like Alexa or Google Home.
Choosing the right LED strip depends on your specific use case, so take time to review brightness levels (measured in lumens), color temperature, and whether you need waterproofing.
Tools and Materials You’ll Need
- LED strip lights
- Power supply (transformer or driver)
- LED controller (if using RGB or smart strips)
- Connector cables
- Scissors
- Tape measure
- Rubbing alcohol and a clean cloth
- Screwdrivers or mounting brackets
- Soldering kit (optional)
Planning Your Installation Layout
Strategic planning ensures a seamless setup and avoids issues down the line.
1. Measure the Area:
Use a tape measure to determine the total length required. Add a little extra in case of errors.
2. Map Out the Route:
Sketch your plan. Will the strip go under cabinets, around corners, or behind a TV? Note areas where the strip will need to bend or split.
3. Locate Power Sources:
Identify nearby electrical outlets. Remember that LED strips must be powered by a compatible power supply, so positioning is key.
4. Consider Visibility:
Make sure the strip won’t be visible unless it’s meant to be. Mounting beneath lips, trims, or shelves works best.
Step-by-Step Guide: How to Install LED Strip Lights
Now to the core of this guide — here’s how to install LED strip lights effectively and safely.
Step 1: Clean the Surface
Use rubbing alcohol and a lint-free cloth to clean the surface where the LED strip will be mounted. This ensures maximum adhesion.
Step 2: Cut the Strip to Length (if needed)
Only cut at the marked cut lines, usually denoted by a small scissor icon. Cutting elsewhere can damage the circuit.
Step 3: Attach Connector or Solder (if required)
For custom lengths or corner turns, use LED strip connectors or solder wires between cut segments.
Step 4: Peel and Stick
Remove the adhesive backing and press the strip firmly into place. For extra security, consider mounting clips, especially for longer strips or rough surfaces.
Step 5: Connect to Power Supply
Connect the strip to the power adapter. Ensure polarity matches — positive to positive, negative to negative.
Step 6: Add a Controller (optional)
If using RGB or smart strips, connect the controller between the strip and the power supply. Follow manufacturer instructions.
Step 7: Power On and Test
Plug in your setup and test for functionality. Adjust the strip or connectors as needed.
Tips for Installing LED Strip Lights on Different Surfaces
-
Wood: Smooth and clean surfaces work best with adhesive. Use alcohol to clean and let dry fully.
-
Metal: Non-porous surfaces may require stronger adhesive or mounting clips.
-
Drywall/Ceiling: Consider using aluminum mounting channels for a flush, finished appearance.
-
Outdoors: Use waterproof LED strips with IP67+ ratings and weatherproof enclosures for connectors and power supplies.
Common Mistakes to Avoid During Installation
-
Ignoring wattage calculations: Overloading a power supply can result in flickering or failure.
-
Cutting in the wrong place: Always cut on the marked lines.
-
Not testing before mounting: Power up the strip to confirm it works before sticking it in place.
-
Poor surface prep: Dusty or greasy surfaces weaken adhesive.
-
Skipping voltage compatibility checks: Ensure the power adapter matches the LED strip voltage.
Safety Precautions When Working with LED Lighting
- Disconnect power before working
- Use waterproof products where needed
- Use certified components
- Keep away from flammable materials
- Hire a licensed electrician if needed
Troubleshooting: What to Do If Your LED Strip Doesn’t Work
- Strip doesn’t turn on: Check connections and polarity
- Part of strip not lighting: Inspect connectors and cuts
- Flickering: Check power supply capacity
-
Wrong color: Verify controller compatibility
Conclusion: Light Up Your Space with Confidence
Learning how to install LED strip lights opens the door to endless creative and functional lighting opportunities. Whether you're upgrading your home’s ambiance or adding dynamic color to entertainment spaces, the process is approachable with a little planning and care. From prepping your surfaces to making the right power connections, each step contributes to a polished, long-lasting setup.
LED strips combine aesthetics with energy efficiency — a win-win for any modern space. With this guide in hand, you’re now equipped to light up your environment confidently and professionally.
