- Introduction
- Common Symptoms of LED Strip Connectivity Issues
- Why Good Electrical Connections Matter
- Diagnosing the Problem: A Step-by-Step Troubleshooting Guide
- Quick Connectors: A Fast and User-Friendly Solution
- Soldering Electrical Connections: For Maximum Security and Longevity
- When to Use Quick Connectors vs. Soldering
- Avoiding Common Mistakes in LED Strip Installations
- Advanced Tips for Reliable LED Strip Installations
- Conclusion
Introduction
Whether you're setting up ambient lighting in your living room or integrating LED strips into a DIY electronics project, nothing stalls progress like persistent connectivity issues. From flickering lights to total power loss, the root cause is often poor or unstable electrical connections. Fortunately, resolving these issues doesn't require a complete overhaul; the key lies in accurate diagnosis and selecting the right connection method, be it quick connectors or soldering electrical connections.
This guide provides a comprehensive breakdown of common LED strip connectivity issues, how to identify them, and how to fix them using secure techniques. We’ll cover troubleshooting practices, compare quick connectors versus soldering, and include real-world insights so you can confidently restore and maintain stable electrical connections.
Common Symptoms of LED Strip Connectivity Issues
Understanding the signs of a bad connection can save you time and money. Some of the most frequent LED strip connectivity issues include:
-
Flickering or intermittent lighting
-
Sections of the LED strip not lighting up
-
Discoloration or uneven brightness
-
Complete failure to power on
These problems often arise from loose wires, poor solder joints, or misaligned quick connectors. Identifying the specific symptom is the first step toward resolving the issue effectively.
Why Good Electrical Connections Matter
Whether you're installing a LED strip light or wiring a custom lighting project, secure connections ensure consistent current flow, prevent voltage drops, and reduce the risk of fire hazards or short circuits. Poor connections not only compromise performance but may also degrade the components over time, leading to premature failure.
In high-usage environments such as retail displays or smart home systems, the importance of a reliable connection can’t be overstated.
Diagnosing the Problem: A Step-by-Step Troubleshooting Guide
Before diving into fixes, use the following LED strip troubleshooting tips to isolate the issue.
1. Visual Inspection
Start by examining all connection points. Look for:
-
Exposed wires
-
Bent pins
-
Burn marks or corrosion
-
Loose connector ends
2. Test Voltage Output
Use a multimeter to measure the voltage at various points along the strip. Confirm that the voltage remains stable and consistent.
3. Check Polarity
LED strips are polarity-sensitive. If the positive and negative terminals are reversed at any point, the strip will not function.
4. Segment Testing
Power the strip in smaller sections to isolate faulty areas. This helps determine whether the issue is with a particular strip segment or the connection method.
These electrical troubleshooting tips are especially useful when working with long strips or intricate installations.
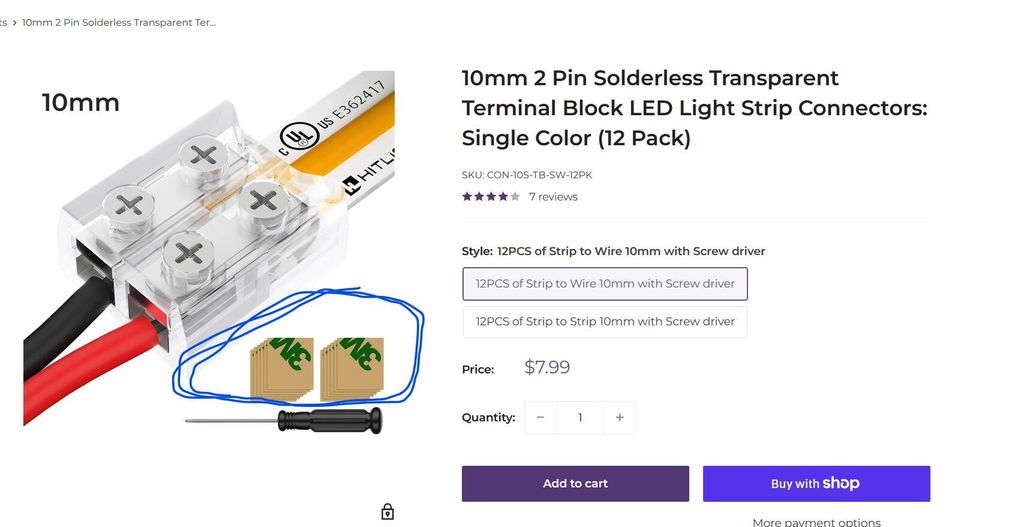
Quick Connectors: A Fast and User-Friendly Solution
Quick connectors are a popular choice for DIYers and hobbyists. They allow you to connect LED strip lights without soldering, using a simple clamp mechanism to hold the strip’s copper pads in place.
Advantages of Quick Connectors
-
Speed: No tools or heat required
-
Ease of use: Ideal for beginners
-
Reusability: Can be disconnected and repositioned
-
Clean installation: Minimal risk of solder burns or melted insulation
Best Practices When Using Quick Connectors
-
Ensure the strip is inserted fully into the connector
-
Verify that the copper pads are aligned correctly
-
Avoid over-bending the connector, which can weaken the clamp
-
Choose the right size connector for your strip width (e.g., 8mm or 10mm)
While quick connectors are fast, they can become loose over time, especially in environments with frequent vibrations or temperature fluctuations. For long-term or permanent installations, soldering electrical connections may offer better durability.
Soldering Electrical Connections: For Maximum Security and Longevity
Soldering offers a robust, conductive bond that withstands physical movement and temperature changes. It’s the preferred method for professionals and anyone seeking a high-quality, long-term solution.
Benefits of Soldering
-
Permanent connection with excellent conductivity
-
Minimal voltage drop, reducing flickering
-
Custom wiring layouts for flexible installations
-
Compact design with no added bulk from connectors
Tools Needed for Soldering LED Strips
-
Soldering iron (15–30W recommended for electronics)
-
Rosin-core solder (60/40 tin-lead or lead-free options)
-
Heat shrink tubing or electrical tape
-
Wire stripper and helping hands (optional but useful)
Step-by-Step Soldering Instructions
-
Prep the surfaces: Clean the strip’s copper pads and wire ends.
-
Tin the wire and pad: Apply a small amount of solder to both parts.
-
Join and heat: Place the tinned wire on the pad and briefly touch with the iron.
-
Insulate the joint: Use heat shrink tubing for a professional, safe finish.
Soldered connections rarely fail unless exposed to physical damage or poor technique. If you're wondering how to connect LED strip lights securely for long-term use, soldering is your answer.
When to Use Quick Connectors vs. Soldering
Choosing the right method depends on your specific needs. Here’s a comparison to guide your decision:
|
Criteria |
Quick Connectors |
Soldering |
|
Skill Level |
Beginner-friendly |
Intermediate to advanced |
|
Installation Time |
Fast |
Slower |
|
Durability |
Moderate |
High |
|
Aesthetic |
Clean but bulky |
Compact and professional |
|
Environment Suitability |
Indoor, low vibration |
All environments |
|
Maintenance/Adjustments |
Easy to modify |
Permanent |
If you're experimenting or setting up temporary displays, quick connectors will do the job. For high-performance installations or outdoor applications, soldering provides the durability you need.
Avoiding Common Mistakes in LED Strip Installations
Regardless of the connection method, here are some frequent mistakes that lead to connectivity issues:
-
Not accounting for voltage drop on long LED runs
-
Using incompatible power supplies
-
Ignoring strip polarity
-
Overloading circuits by connecting too many strips in series
-
Poor insulation, leading to short circuits
Always double-check technical specifications, use quality materials, and follow manufacturer guidelines to avoid these pitfalls.
Advanced Tips for Reliable LED Strip Installations
Want to go beyond the basics? Here are some expert-level LED strip troubleshooting tips to ensure a flawless setup:
-
Use solder seal connectors for a hybrid approach: These offer solder-level conductivity with the ease of heat-shrink tubing.
-
Add fuses to protect from overloads in complex installations.
-
Use aluminum channels with diffusers to reduce heat buildup and prolong LED lifespan.
-
Label all power and data lines for easier maintenance down the road.
These small steps can significantly enhance the performance and longevity of your LED setup.
Conclusion
Connectivity issues in LED strip lights can be frustrating, but they're rarely unfixable. Whether you choose quick connectors for convenience or soldering electrical connections for a permanent fix, understanding the strengths and limitations of each method is crucial. By following proper diagnostic steps and using quality materials, you'll ensure a reliable, long-lasting lighting setup that performs exactly as expected.
Remember, the key to success lies in attention to detail, consistent power delivery, and secure physical connections. Invest time in doing it right, and you’ll minimize troubleshooting for years to come.