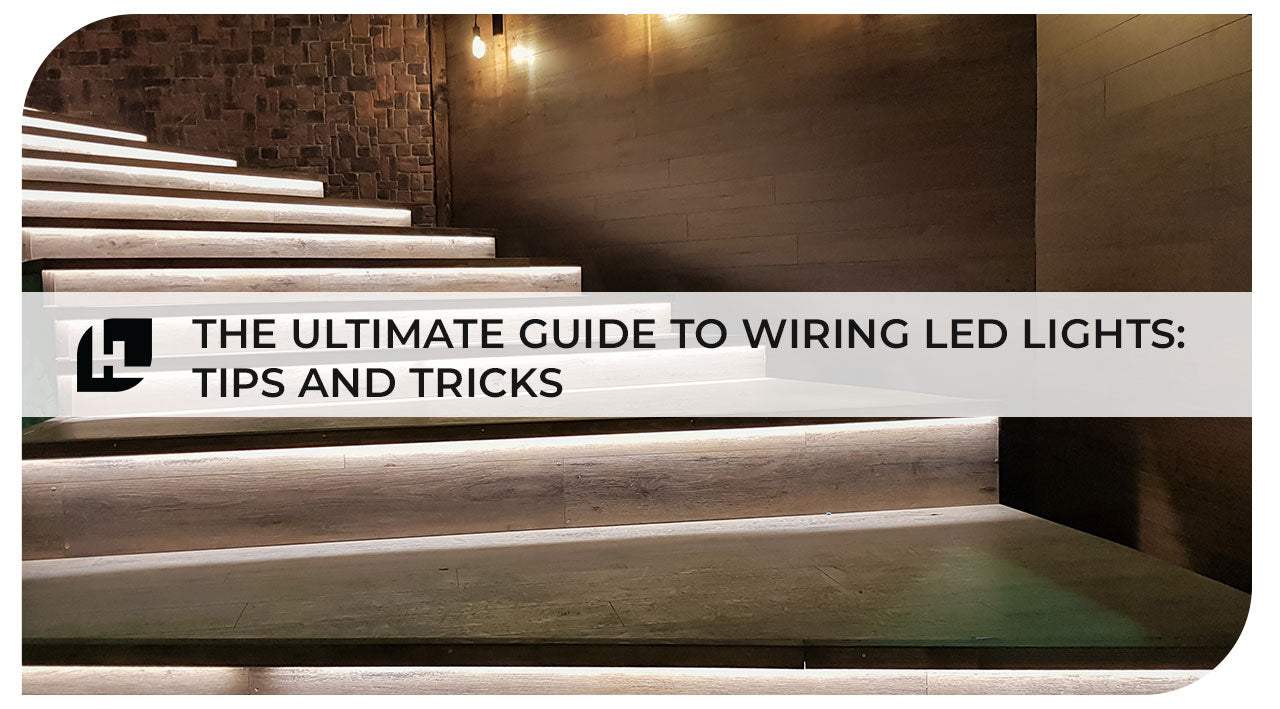
LED lights have become the most popular type of lighting in the market due to their energy efficiency, durability, and versatility. Whether you're looking to illuminate your home, office, or commercial space, LED lights offer a wide range of options to suit your needs. But, when it comes to wiring LED lights, it's important to have a clear understanding of the process and the right tools to ensure a successful installation. In this guide, we'll take a closer look at the process of wiring LED lights and provide some tips and tricks to help you get started.
Understanding LED Voltage and Current
Before we dive into the wiring process, it's important to understand some basic concepts about LED lights. The two most important things to consider are voltage and current.
Voltage is the amount of electrical force that drives the current through a circuit. It is measured in volts (V). LED lights require a specific voltage to function properly, and it's important to ensure that your power supply provides the correct voltage.
Current is the flow of electricity through a circuit. It is measured in amps (A) or milliamps (mA). LED lights typically require a low current, and it's important to use a power supply that is rated to provide the correct amount of current.
Choosing the Right LED Lights
When choosing LED lights for your project, there are a few things to consider. First, think about the color temperature you want. LED lights are available in a wide range of color temperatures, from warm white to cool white and everything in between.
Next, consider the brightness of the lights. LED lights are rated in lumens, which is a measure of the total amount of light emitted by the bulb. The higher the lumen rating, the brighter the light. This is also called standard density or high-density: Standard density strips have lower lumens vs the high-density strips, if you need a brighter output, your go-to will be using a high-density strip, the caveat here is wiring connection that will be discussed further on wiring.
Finally, think about the type of LED lights you want to use. HitLights offers a range of LED light options, including Luma5, COB lighting, and Hit Pro 24V.
Luma5 is a 12V LED strip with an 8mm width that is perfect for ambient lighting and energy efficiency. This LED strip is easy to install and can be cut to size to fit any space.
COB lighting is a 24V LED light that provides classic and elegant spotless light output. It's great for under cabinet lighting, cove lighting, living room lighting, and more.
Hit Pro 24V is a 24V LED strip that is perfect for longer run and installation, making it perfect for bright output target installations.
Understanding LED Wiring
Now that you have a basic understanding of LED lights, let's take a closer look at the wiring process. The wiring process will vary depending on the type of LED lights you're using, but there are some general steps that apply to most installations.
Step 1: Determine Your Power Supply
The first step in wiring LED lights is to determine your power supply. You'll need to choose a power supply that provides the correct voltage and current for your LED lights. HitLights offers a range of UL Listed power supplies that are perfect for LED lights. What we recommend is to follow the 80/30 Rule. This means that the best load output to use with a driver or a power supply should be between 30% to 80% of the wattage capacity of the driver. Remember to always match the Voltage Rating of your Driver with the lighting fixtures 12V Driver = 12V LED light strip, 24V Driver = 24V LED strip light.
For example:
- 100 Watts Driver
- Recommended load is between 30 watts to 80 watts
- Lower than 30 watts will over power the lighting fixtures
- Higher than 80 watts is overworking the driver.
Step 2: Connect Your LED Lights
Once you have your power supply, you can begin connecting your LED lights. The exact process will vary depending on the type of LED lights you're using, but generally, you'll need to connect the positive (+) and negative (-) wires from the LED lights to the corresponding terminals on the power supply.
Note: double-density or high-density LED strips typically draws more power that means a possible limitation in terms of LED run installation, if you need longer runs for your application, the best way to mitigate that is either by splitting the load to be handled by several drivers, or going with a parallel connection instead of doing a daisy-chain connection.
Step 3: Install Your LED Lights
With the wiring complete, you can now install your LED lights. Depending on the type of LED lights you're using, you may need to attach them to a surface using adhesive tape or mounting brackets. Be sure to follow the manufacturer's instructions carefully to ensure a successful installation.
Tips and Tricks
Once you have your wiring plan in place, it's time to start connecting your LED lights. Here are some general tips for wiring LED lights:
Connect the positive and negative wires correctly. If you connect the wires backwards, the LED lights will not work.
Use proper connectors. For example, use a soldering iron to connect wires to LED strips.
Use a power supply that matches the voltage and amperage requirements of your LED lights. You can calculate the wattage of your LED lights by multiplying the voltage and amperage requirements.
Test your connections before mounting your LED lights. This will help you avoid any issues that may arise once your LED lights are installed.
Now, let's take a closer look at each of the three LED lighting series mentioned earlier and discuss the best wiring practices for each.
Luma5 12V LED Strip Lights
The Luma5 series of LED strip lights is perfect for ambient lighting and is energy efficient. These LED lights have a low voltage requirement of 12V, which means that you can power them using a standard 12V DC power supply.
When wiring Luma5 LED strip lights, it's important to use the correct gauge of wire. A wire gauge of 22 AWG or higher is recommended. You should also use a high-quality soldering iron and solder to connect your wires to the LED strip lights.
To ensure that your Luma5 LED strip lights last a long time, it's important to use a UL listed power supply. This will ensure that your power supply meets safety standards and won't damage your LED lights.
COB Lighting - 24V COB Lights
COB lighting is a type of LED lighting that features a high-intensity light output with a spotless appearance. COB lights are perfect for under cabinet lighting, cove lighting, living room lighting, and more.
When wiring COB lights, it's important to use the correct gauge of wire. A wire gauge of 18 AWG or higher is recommended. You should also use a high-quality soldering iron and solder to connect your wires to the COB lights.
To power COB lights, you will need a 24V DC power supply. You can use a single power supply for multiple COB lights, as long as the power supply can handle the total wattage required.
Hit Pro 24V LED Strips
The Hit Pro 24V LED strips are perfect for longer runs and installations. These LED lights have a higher voltage requirement of 24V, which means that you will need a power supply that can deliver the correct voltage and amperage.
When wiring Hit Pro 24V LED strips, it's important to use the correct gauge of wire. A wire gauge of 18 AWG or higher is recommended. You should also use a high-quality soldering iron and solder to connect your wires to the LED strips.
To power Hit Pro 24V LED strips, you will need a 24V DC power supply that can handle the total wattage required. You can use multiple power supplies for larger installations, as long as each power supply can handle the total wattage required.
Summary
Wiring LED lights can seem daunting at first, but with the right tools and techniques, it's a manageable task. By following the tips and best practices outlined in this guide, you can wire LED lights safely and efficiently.
Whether you're using Luma5, COB lighting, or Hit Pro 24V LED strips, it's important to use the correct gauge of wire, a high-quality soldering iron and solder, and a power supply that matches the voltage and amperage requirements of your LED lights.
Remember to always test your connections before mounting your LED lights, to avoid redo.
If you're still unsure how to wire your LED lighting project properly, don't hesitate to reach out to one of our LED lighting experts for advice. Let us help you design, set your wiring diagrams, and assess your specific needs on your next LED lighting project with our Expert LED Lighting Design assistance.
