- Introduction
- 1. Plan Your Layout Before You Stick Anything
- 2. Choose the Right LED Strip Type for Your Project
- 3. Use Quality Power Supplies and Controllers
- 4. Always Clean and Prepare the Surface
- 5. Make Proper Electrical Connections
- 6. Avoid Overheating by Managing Heat Dissipation
- 7. Test Everything Before Final Mounting
- 8. Mind the Cutting and Reconnecting Points
- 9. Hide Power Cables and Controllers Smartly
- 10. Seal and Protect Outdoor Installations
- 11. Incorporate Diffusers for a Professional Look
- 12. Understand Power Load and Voltage Drop
- 13. Know When to Call a Professional
- 14. Maintain and Clean Regularly
- 15. Bonus Tip: Think About Lighting Design
- Conclusion
Introduction
If you’re taking on a DIY LED strip installation, you’re not alone. LED strip lighting has become one of the most popular ways for homeowners and small business owners to transform their spaces with efficient, customizable lighting. But while these lights look simple to install, small mistakes can lead to poor performance, flickering, uneven illumination, or even safety hazards.
To help you get it right the first time, we’ve gathered insights from professional LED strip installers who specialize in high-quality, long-lasting lighting setups. These pros share their best installation tips, insider tricks, and common pitfalls to avoid—so your next project shines beautifully, safely, and efficiently.
1. Plan Your Layout Before You Stick Anything
Every professional will tell you this: planning is half the job. LED strip installation might look plug-and-play, but the best results come from careful planning.
Expert Insight:
Before peeling the adhesive backing, take time to:
-
Measure your space twice.
-
Map out where power sources and controllers will go.
-
Mark corners, curves, and connection points.
Pro Tip: Draw a quick diagram showing your layout. Include where the power supply connects, where dimmers or controllers sit, and how the strips will bend or transition around edges.
This early planning prevents awkward wire stretches, dangling connectors, and light gaps—mistakes that even experienced DIYers make when rushing.
2. Choose the Right LED Strip Type for Your Project
Not all LED strips are created equal. Professionals stress that choosing the correct strip type for your intended use is critical.
Key Factors to Consider:
-
Voltage: Most residential strips are 12V or 24V. Longer runs generally require 24V for stable brightness.
-
Color Temperature: Decide if you want warm white (2700–3000K), neutral (4000K), or cool white (5000K+).
-
Water Resistance: Use IP65 or higher for outdoor or damp areas like kitchens and bathrooms.
-
LED Density: Higher density (e.g., 120 LEDs/m) produces smoother, more uniform lighting.
Pro Insight:
“If you’re lighting a kitchen cabinet or desk, low-voltage flexible strips work fine. For large rooms or accent ceilings, go for 24V high-density LED strips for consistent brightness.” – Jordan M., professional LED strip installer
3. Use Quality Power Supplies and Controllers
One of the top mistakes DIY installers make is underpowering their LED strips. Professionals emphasize using reliable power supplies with enough wattage overhead to handle the total LED load.
Here’s How to Calculate:
-
Check the watts per meter of your LED strip (printed on packaging).
-
Multiply by the total length you’ll use.
-
Add 20–25% extra wattage for safety margin.
Example:
If your strip uses 10W/m and you’re installing 5 meters:
10 × 5 = 50W → Add 25% = 62.5W power supply minimum.
Bonus Tip:
Use dimmable drivers or smart controllers compatible with your home automation system. This adds flexibility and longevity to your setup.
4. Always Clean and Prepare the Surface
Adhesion is everything. Professionals agree that the biggest cause of LED strip detachment is poor surface preparation.
Before Installing:
-
Clean the area with isopropyl alcohol to remove dust and grease.
-
Dry it completely.
-
Avoid sticking to rough or porous surfaces—use mounting clips or aluminum channels instead.
If you’re applying strips under cabinets or along ceilings, consider using aluminum profiles. These improve heat dissipation and protect the strip’s adhesive over time.
Pro Installer Tip:
“We never rely solely on the factory adhesive for long runs. We reinforce it with clips or channels. It saves clients from future peeling issues.” – Lena D., lighting technician
5. Make Proper Electrical Connections
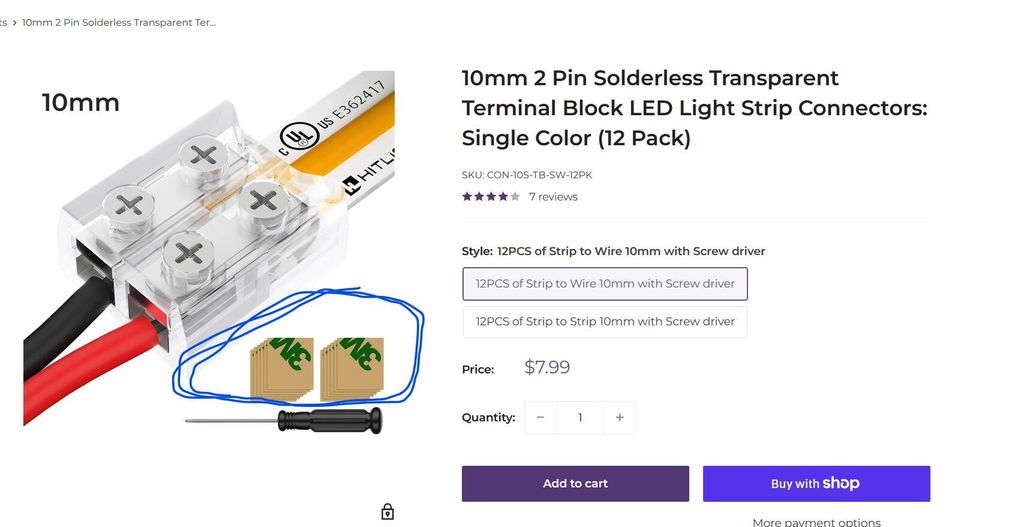
Electrical connections are where DIY mistakes often lead to flickering or dead strips. Professionals emphasize using soldering or high-quality connectors, depending on your comfort level.
For Beginners:
Use clip-on connectors designed for your specific LED strip type (width, voltage, and pin count). Always ensure polarity matches (+ to +, – to –).
For Advanced DIYers:
Professionals prefer soldering connections for reliability and lower resistance, especially in high-power setups.
Tip: Cover soldered joints with heat-shrink tubing for insulation and protection.
6. Avoid Overheating by Managing Heat Dissipation
LEDs produce less heat than incandescent bulbs—but heat still matters. Overheating shortens LED lifespan dramatically.
How to Prevent It:
-
Use aluminum channels or heat sinks when mounting strips to wood or drywall.
-
Avoid sealing strips in airtight enclosures.
-
Never layer LED strips on top of each other.
According to professionals, proper heat management can extend LED life by up to 50%.
7. Test Everything Before Final Mounting
Never mount your LED strips before testing them. Professionals always test the entire setup before finalizing installation.
Testing Checklist:
-
Plug in your power supply and controller.
-
Verify polarity on all connectors.
-
Check for flickering or dim spots.
-
Test brightness and color settings if RGB or tunable white.
This simple pre-installation test helps catch connection errors or defective segments before you secure anything permanently.
8. Mind the Cutting and Reconnecting Points
Every LED strip has cut marks—small copper pads where you can safely cut. Cutting anywhere else can damage the circuit.
Pro Tip:
-
Use sharp scissors or a craft knife for a clean cut.
-
When reconnecting, use the correct connector type or solder wires neatly.
-
Double-check voltage continuity after reconnecting.
Pro Insight:
“We see a lot of DIY projects where users cut just one millimeter off the mark—and the segment won’t light. Always cut right at the copper pad.” – Ethan W., lighting engineer
9. Hide Power Cables and Controllers Smartly
Even the cleanest LED lighting can look messy if cables are exposed. Professionals plan their wiring routes early to maintain a seamless finish.
Cable Management Tips:
-
Route wires through cabinets or behind baseboards.
-
Use wire clips or raceways to organize connections.
-
Mount controllers and power supplies out of direct sight but ensure ventilation.
If you’re integrating LEDs into smart home systems, ensure your Wi-Fi controllers are positioned within range for reliable performance.
10. Seal and Protect Outdoor Installations
If your project includes outdoor areas—such as patios, decks, or landscape lighting—professionals stress weatherproofing.
Best Practices:
-
Choose IP65 or IP67-rated LED strips for water resistance.
-
Seal connectors with silicone end caps or waterproof heat-shrink tubing.
-
Mount strips on aluminum channels to prevent water pooling.
Outdoor LED strips face temperature fluctuations and moisture, so proper sealing ensures long-term durability.
11. Incorporate Diffusers for a Professional Look
One thing that separates pro installations from DIY ones is the finish quality. Using diffuser covers on your LED channels softens light and eliminates visible diode dots.
Benefits:
-
Smooth, even light distribution.
-
Reduced glare.
-
Added physical protection for your LED strips.
Diffusers are available in frosted or opaque options and can make even budget LED strips look high-end.
12. Understand Power Load and Voltage Drop
Professional LED strip installers often see voltage drop issues in long runs—where the end of the strip looks dimmer than the start.
Solutions:
-
Use a higher voltage (24V) strip for long runs.
-
Feed power from both ends of the strip.
-
Use amplifiers or signal repeaters for RGB setups.
Proper planning ensures uniform brightness across your entire setup, especially in ceiling coves or long architectural lines.
13. Know When to Call a Professional
Even seasoned DIYers sometimes reach the limit of what’s safe or practical.
If your project involves:
-
Hardwiring into mains voltage
-
Complex RGB control systems
-
Outdoor waterproofing
-
Hidden wiring behind walls
…it’s best to consult a professional LED strip installer. Not only will they ensure safety and compliance with electrical codes, but they’ll also guarantee a clean, professional finish.
14. Maintain and Clean Regularly
LED strips are low-maintenance, but not maintenance-free.
Maintenance Tips:
-
Gently dust strips and diffusers with a microfiber cloth every few months.
-
Check connectors periodically for looseness.
-
If a section dims, inspect for voltage drop or damaged wiring.
These simple habits extend the lifespan and brightness of your installation.
15. Bonus Tip: Think About Lighting Design
Finally, installation is only part of the equation. Professional installers emphasize lighting design—how light interacts with your space.
Experiment with:
-
Accent lighting: behind TVs, shelves, or mirrors.
-
Task lighting: under cabinets or desks.
-
Ambient lighting: along ceiling coves or staircases.
And for those wondering how to use LED strip lights creatively, the key is layering. Combine different light temperatures and placements to enhance both function and atmosphere.
Conclusion
DIY LED strip installation can be a rewarding project that transforms any space with energy-efficient, modern lighting. But as professionals remind us, success lies in planning, precision, and patience.
By applying these installation tips, from using the right power supplies to testing before mounting—you’ll achieve a reliable, beautiful result that rivals professional installations. And if your project gets complex, there’s no shame in calling a professional LED strip installer to ensure it’s done right.