Table of Content
- Introduction
- Why is it Tricky to Install LED Strip Lights Around Corners?
- Mistake 1: Using Rigid Strips
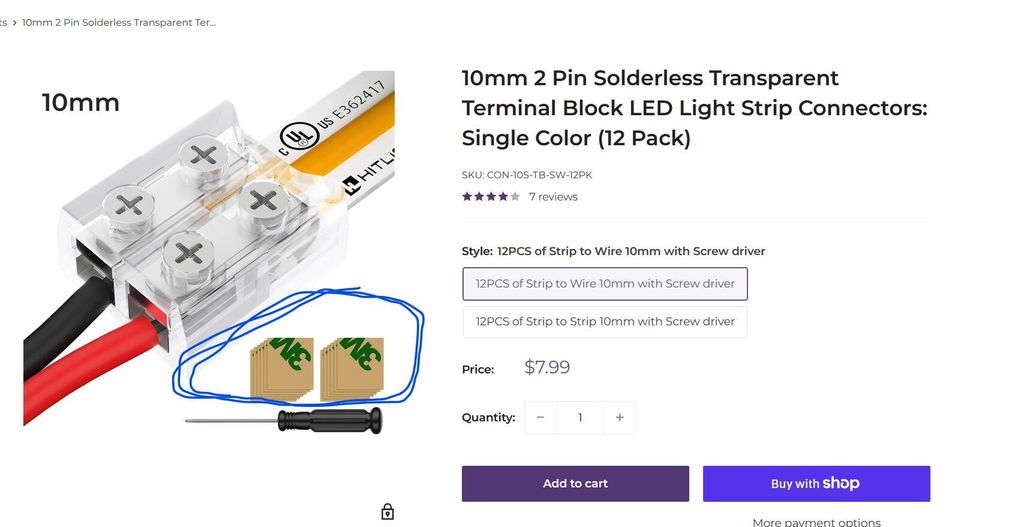
- Mistake 2: Improper Connector Selection
- Mistake 3: Insufficient Light Output
- Mistake 4: Incorrect Bending Method
- Mistake 5: Ignoring Heat Dissipation
- Mistake 6: Overlooking Voltage Drop
- Mistake 7: Poor Power Supply Choice
- Mistake 8: Neglecting Accessibility for Maintenance
- Mistake 9: Ignoring Safety Precautions
- Best Practices for Corner Installation
- Conclusion
Introduction
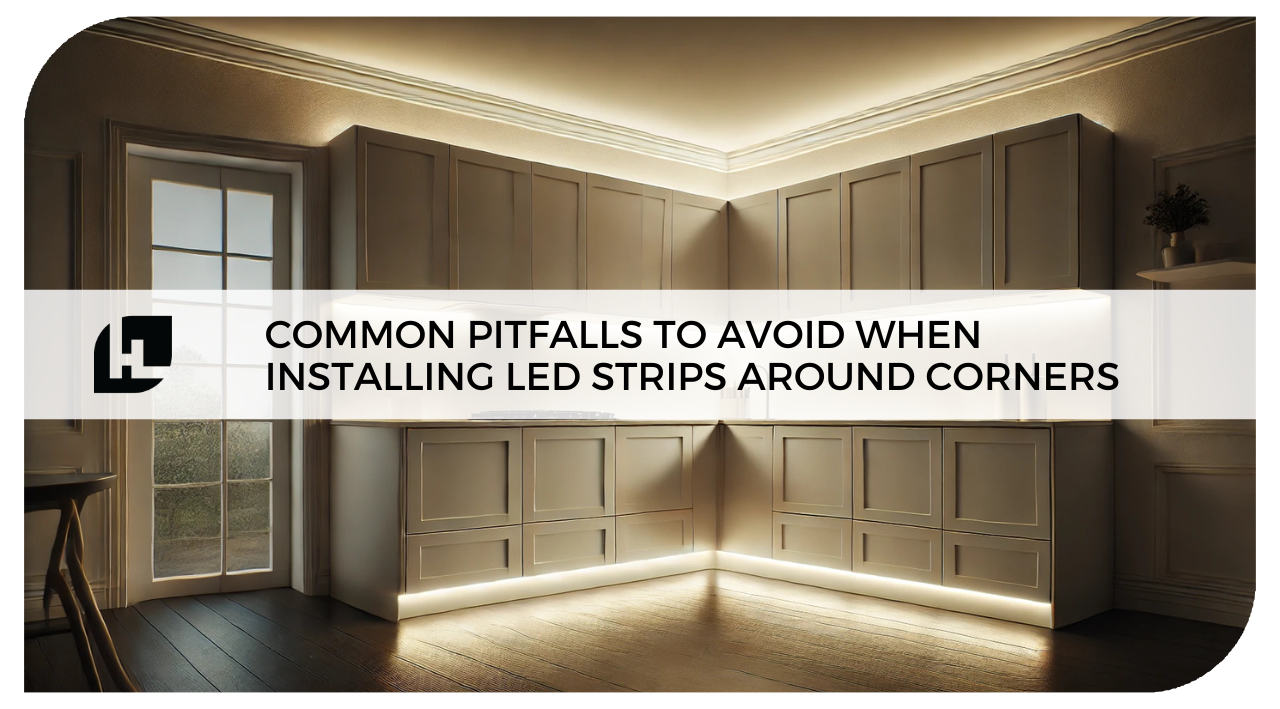
LED strip lights have become increasingly popular for various applications due to their versatility, energy efficiency, and aesthetic appeal. However, installing them around corners can pose challenges that need careful consideration. This article will guide you through the common mistakes to avoid and provide best practices for successful corner installation, benefiting electricians, LED installers, fabricators, event organizers, contractors, cabinet makers, and business owners alike.
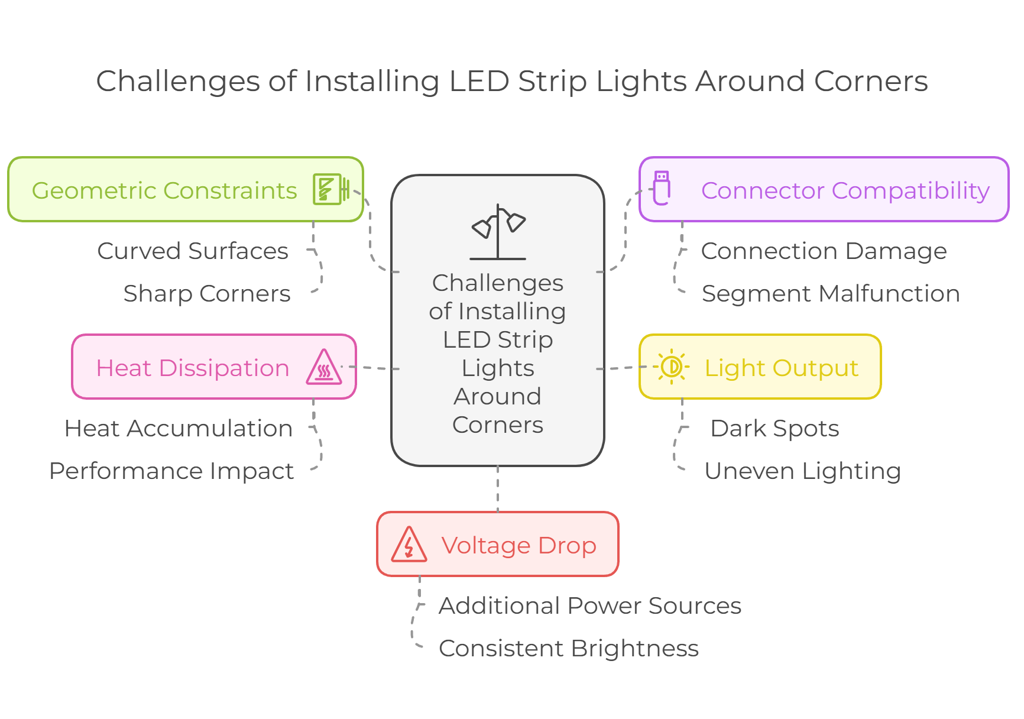
Why is it Tricky to Install LED Strip Lights Around Corners?
Geometric Constraints: LED strips are typically flat and linear, making it challenging to conform them to curved surfaces.
Connector Compatibility: Bending the strips can stress the connections, potentially leading to damage or failure.
Light Output: Improper bending techniques can affect light distribution and brightness.
Heat Dissipation: Heat buildup can occur at the bend, affecting the strip's lifespan and performance.
Voltage Drop: Longer runs around corners can lead to voltage drop, reducing light intensity.
Mistake 1: Using Rigid Strips
Rigid strips cannot conform to curved surfaces and may cause breakage or uneven lighting.
- Solution: Use flexible LED strips designed for bending, typically with a printed circuit board (PCB) width of 10mm or less.
Mistake 2: Improper Connector Selection
Weak connectors can fail when used with flexible strips or may not provide a secure connection.
- Solution: Use specialized corner connectors designed for LED strip lights, ensuring a strong and reliable bond.
Mistake 3: Insufficient Light Output
Bending too sharply can create dark spots or uneven brightness.
- Solution: Allow for a gradual curve by increasing the bend radius and using a dimmer to adjust light intensity as needed.
Mistake 4: Incorrect Bending Method
Overbending can damage the strip or its components.
Not bending at designated points can create stress points and reduce strip flexibility.
- Solution: Follow the manufacturer's bending recommendations and use a bending tool to ensure precise bending angles.
Mistake 5: Ignoring Heat Dissipation
Heat buildup at bends can shorten the strip's lifespan.
- Solution: Use thicker copper traces (e.g., 2oz or higher) on the PCB to enhance heat dissipation. Consider using thermal adhesive or heat sinks to improve heat management.
Mistake 6: Overlooking Voltage Drop
Long runs around corners can result in voltage drop, reducing brightness.
- Solution: Use higher-wattage power supplies and larger conductor sizes in the wiring to minimize voltage drop.
Mistake 7: Poor Power Supply Choice
Insufficient power can cause the strip to flicker or fail.
- Solution: Calculate the total wattage of the strip and select a power supply with sufficient amperage to meet the load. Consider using constant current power supplies to maintain consistent brightness throughout the run.
Mistake 8: Neglecting Accessibility for Maintenance
Hard-to-reach locations can make it difficult to access the strip if maintenance or repairs are needed.
- Solution: Plan the installation to allow for easy access to the power supply and strip connections. Consider using removable mounting clips or tracks.
Mistake 9: Ignoring Safety Precautions
Electrical hazards can occur if the strip is not properly insulated or grounded.
Fire risks: Overheating or short circuits can lead to fires.
- Solution: Wear appropriate personal protective equipment (PPE), follow electrical codes and standards, and use UL-listed products for safety assurance.
Best Practices for Corner Installation
- Use flexible LED strips with a narrow PCB width.
- Choose specialized corner connectors for secure connections.
- Allow for gradual curves and use a dimmer for light adjustment.
- Follow manufacturer's bending recommendations and use a bending tool.
- Enhance heat dissipation with thicker copper traces and thermal management techniques.
- Minimize voltage drop by using higher-wattage power supplies and larger conductor sizes.
- Select a suitable power supply with sufficient amperage.
- Plan for easy accessibility for maintenance.
- Prioritize safety by following electrical codes, using insulated strips, and wearing PPE.
Conclusion
Installing LED strip lights around corners requires careful attention to several key factors to ensure optimal performance and longevity. By avoiding the common pitfalls outlined in this article and adhering to best practices, electricians, LED installers, fabricators, event organizers, contractors, cabinet makers, and business owners can achieve successful corner installations that enhance aesthetics, functionality, and safety. Remember to prioritize quality components, proper techniques, and safety considerations for a satisfactory outcome.
Tune in for more tips, guides, and promotions that we will be sharing this 2025!
About HitLights:
HitLights is a leading provider of high-quality LED lighting and low voltage LED drivers, and mounting supplies catering to diverse needs in residential, commercial, and event settings. With a commitment to innovation, eco-friendly lighting, and customer satisfaction, HitLights continues to illuminate spaces with innovations be it micro or macro technology.
By the way, if you are a professional installer, an integrator, or a business owner and you want to: Save MORE! And Do MORE Projects!
Get Factory Direct Pricing when you join our Professional Partner Program RISK-FREE, NO CONTRACTS, NO HASSLE PROCESS there is nothing to lose but MORE to GAIN!
If you have any additional questions, feel free to reach out to us at customerservice@hitlights.com or give us a call at 1 (855) 768-4135. Our team of expert engineers and electricians are here to assist you every step of the way!
*Disclaimer: The information provided in this article is for general informational purposes only.