Introduction
Knowing whether your LED driver is dimmable is key to achieving flexible, efficient, and visually appealing lighting. A dimmable LED driver allows you to control brightness, improve energy efficiency, and extend the lifespan of your lighting system. However, not every LED driver supports dimming, and using the wrong one can cause flickering, damage, or even failure of your LEDs.
This comprehensive guide explains how to determine if your LED driver is dimmable, the different types of dimmable LED drivers, and how to check for compatibility and specifications to ensure safe and optimal performance.
Understanding LED Drivers and Dimming
What Is an LED Driver?
An LED driver is an essential electronic component that regulates the power supply (voltage and current) to LEDs. Since LEDs are sensitive to current fluctuations, the driver ensures they receive a steady and appropriate current, preventing overheating and prolonging their lifespan.
Think of an LED driver as the power manager for your lighting system — it converts AC to DC, manages energy flow, and stabilizes output for consistent illumination.
Why Use a Dimmable LED Driver?
A dimmable LED driver lets you adjust brightness without affecting light quality or efficiency. Dimming provides multiple benefits:
-
Energy efficiency: Lower light levels mean reduced power consumption.
-
Extended lifespan: LEDs last longer when operated below full capacity.
-
Enhanced ambiance: Perfect for creating mood lighting in homes, restaurants, and offices.
-
Smart control compatibility: Works with systems like DALI, 0-10V, or smart home dimmers.
Quick Answer: If your LED driver is dimmable, you can control brightness safely using a compatible dimmer. If it’s not, using a dimmer may cause flickering or damage.
How to Identify Dimmable LED Drivers
Determining if an LED driver is dimmable requires a bit of inspection. Here are three reliable ways to find out:
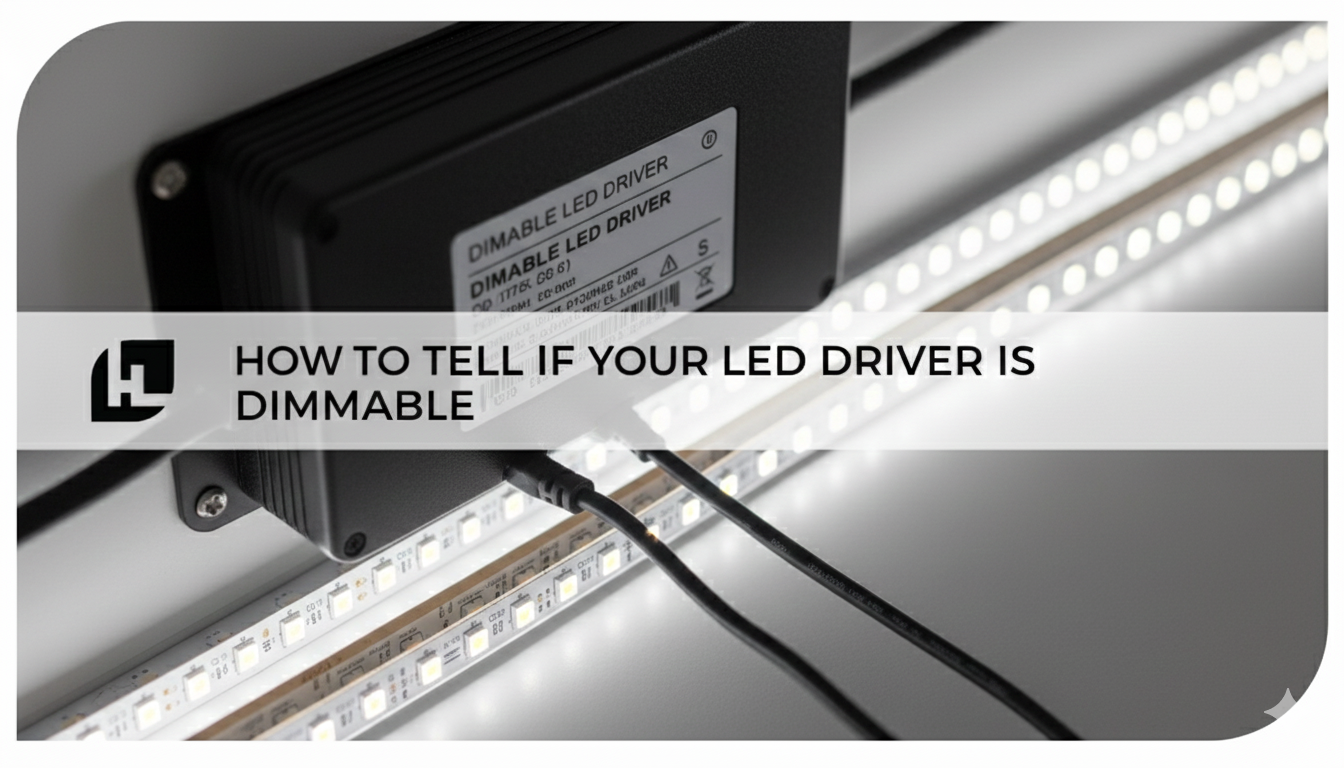
1. Check the Product Label or Markings
Look at the label printed on the LED driver housing. Manufacturers often mark dimmable units with specific wording or symbols such as:
-
“Dimmable”
-
“0–10V Dimming”
-
“PWM Compatible”
-
“DALI” or “Triac Dimming”
If these are missing, your driver is likely non-dimmable.
Pro Tip: If the label lists dimming protocols like 0-10V, PWM, or DALI, that confirms dimmable capability.
2. Review Manufacturer Documentation
Visit the manufacturer’s website or check the datasheet/manual for your specific model. Most datasheets clearly indicate:
-
Whether the driver is dimmable
-
Supported dimming type (analog, digital, PWM, etc.)
-
Dimming range (e.g., 1%–100%)
-
Compatible dimmer models
If you purchased through a retailer, check the product listing. Reputable suppliers always list dimming capability in the specs.
3. Examine the Wiring
Some dimmable LED drivers include extra low-voltage control wires:
-
0–10V dimming typically has two additional control wires (purple and gray).
-
Triac/phase dimming drivers use standard line-voltage wiring.
If your driver only has input and output leads, it’s likely non-dimmable.
Types of Dimmable LED Drivers
There are several dimming technologies available, and knowing which type you have ensures proper performance and compatibility.
1. PWM (Pulse Width Modulation) Dimming
PWM dimming rapidly turns the LED on and off at high frequency, adjusting brightness by changing how long the LED stays on during each cycle.
Pros:
-
Maintains color consistency
-
Smooth dimming curve
Cons:
-
May cause flicker if poorly implemented
-
Not compatible with all dimmers
2. CCR (Constant Current Reduction) or Analog Dimming
Analog dimming, also known as CCR, reduces brightness by lowering the current flowing through the LEDs.
Pros:
-
Simple and efficient
-
Compatible with many dimmers
Cons:
-
May cause minor color shifts at lower brightness levels
3. DALI (Digital Addressable Lighting Interface)
DALI dimming is a digital communication protocol for advanced lighting control. It allows precise adjustment of brightness, color temperature, and grouping of lights.
Pros:
-
Centralized digital control
-
Compatible with smart and commercial systems
Cons:
-
Requires DALI-compatible components
-
Higher installation cost
4. 0–10V Dimming
A widely used analog dimming method where a control signal between 0 and 10 volts determines brightness.
Pros:
-
Reliable and simple setup
-
Good for large commercial systems
Cons:
-
Requires specific dimmers and extra wiring
Quick Comparison Table
|
Dimming Type |
Control Signal |
Ideal For |
Notes |
|
PWM |
Digital |
Residential, decorative lighting |
High color stability |
|
CCR/Analog |
Variable current |
General-purpose LEDs |
May shift color slightly |
|
DALI |
Digital (network-based) |
Smart/commercial systems |
Highly programmable |
|
0–10V |
Analog voltage |
Commercial spaces |
Requires extra control wires |
Checking Compatibility and Specifications
Before connecting your dimmer, ensure full compatibility between your LED driver, LEDs, and dimmer to prevent malfunction or flicker.
1. Verify the Dimming Range
Dimmable drivers vary in range– some dim down to 10%, while others reach 0% (off). Choose one that fits your use case.
For instance:
-
0–100% for full-range dimming
-
10–100% for smoother commercial performance
2. Match Dimmer Type to Driver Type
Your dimmer switch must match the driver’s dimming protocol.
For example:
-
Use 0–10V dimmers with 0–10V drivers.
-
Use TRIAC dimmers with phase-cut dimmable drivers.
-
Use DALI controllers for DALI-compatible systems.
⚠️ Mismatched components cause flickering, buzzing, or even permanent driver damage.
3. Check Power Ratings
Ensure the driver’s output voltage and current match your LED requirements.
-
Overloading causes overheating or flickering.
-
Underpowering leads to dim or unstable lighting.
Check both:
-
Input Voltage: Typically 120V or 277V (AC).
-
Output Voltage/Current: Often 12V, 24V, or constant current (350mA, 700mA, etc.).
4. Review Total Wattage
Your LED driver must support the total wattage of connected LEDs. Add the wattage of all LEDs in the circuit and choose a driver rated at least 20% higher for safety and longevity.
Installing a Dimmable LED Driver
Once you’ve verified compatibility, follow these steps to install safely and effectively.
1. Prioritize Safety
Always turn off power at the circuit breaker before installation.
Use proper tools and protective gear, and avoid working on live circuits.
2. Follow Manufacturer Instructions
Refer to the installation guide specific to your driver model.
Pay attention to:
-
Wiring diagrams
-
Control signal connections (for dimmable units)
-
Grounding and enclosure requirements
3. Test the Dimming Functionality
After installation:
-
Gradually adjust brightness through the dimmer.
-
Look for smooth dimming transitions without flicker or noise.
-
Confirm full range operation (0%–100%).
If you notice flicker or inconsistency:
-
Recheck wiring connections.
-
Ensure dimmer and driver compatibility.
-
Verify that load wattage meets driver specifications.
Conclusion
Identifying whether your LED driver is dimmable is crucial to designing a reliable and flexible lighting system.By checking labels, manufacturer documentation, and wiring, you can quickly determine if your driver supports dimming. Understanding the different dimming technologies—PWM, CCR, 0–10V, and DALI—helps you choose the right components for your project.
Always ensure compatibility between driver, LEDs, and dimmer switches for optimal performance. A properly installed dimmable LED driver provides superior lighting control, energy efficiency, and ambiance across any space.
