Introduction
LED strip lighting has revolutionized home and commercial lighting with its flexibility, energy efficiency, and sleek design. However, despite their durability, many LED strip lights fail much earlier than expected. Why? Often, the root cause isn't the product itself but installation mistakes and troubleshooting oversights. Understanding the most common pitfalls can help you avoid premature failure and keep your setup glowing brightly for years.
Understanding How LED Strips Work
Before diving into problems and mistakes, it’s helpful to understand how LED strip lights function. A typical LED strip consists of surface-mounted LEDs placed on a flexible PCB (printed circuit board). These strips are powered by low-voltage DC, usually 12V or 24V, and controlled via resistors, drivers, or dimmers.
The main components of an LED strip setup include:
-
LED chip: Provides the actual light.
-
Resistors/Drivers: Regulate current flow.
-
Adhesive backing: Allows for mounting.
-
Power supply: Converts AC to DC power.
-
Connectors: Used for joining or extending strips.
Even a small issue with one of these components can cause major performance issues. That's why it’s essential to follow correct installation procedures and understand potential failure points.
Common LED Strip Problems and What They Mean
Identifying the issue is half the battle when troubleshooting LED strips. Here are some of the most common LED strip problems and their likely causes:
1. Dimming or Flickering LEDs
-
Cause: Inadequate power supply, voltage drop, or faulty dimmer.
-
Fix: Upgrade the power supply or use a proper voltage regulator.
2. Uneven Brightness
-
Cause: Long runs without voltage injection, low-quality LEDs, or wrong gauge wire.
Fix: Use shorter runs or inject power at both ends.
3. LEDs Not Lighting Up at All
-
Cause: Reversed polarity, bad connection, or power supply failure.
-
Fix: Double-check connections and test with a multimeter.
4. Color Shifting or Inaccurate Colors
-
Cause: Poor RGB controller or mismatched strips.
-
Fix: Replace the controller or ensure all strips come from the same batch.
5. Overheating
-
Cause: No heat dissipation, over-driving the LEDs, or lack of ventilation.
-
Fix: Use aluminum channels or install in well-ventilated areas.
In many cases, proper LED strip troubleshooting involves checking each component step-by-step. And yes, sometimes you need a full-on "led strip lights troubleshooting" process to diagnose stubborn issues.
Top LED Strip Installation Mistakes to Avoid
Incorrect installation is one of the leading causes of early LED strip failure. Below are critical errors even experienced installers sometimes make.
1. Using the Wrong Power Supply
Many users underestimate the required wattage or select a non-compatible voltage. A 24V strip powered by a 12V supply won’t work, or worse, it may burn out components.
-
Tip: Always calculate the total wattage of your strips and add at least 20–30% headroom to your power supply capacity.
2. Ignoring Voltage Drop
The longer the LED strip runs, the more voltage drop occurs, leading to dim LEDs at the end.
-
Tip: Limit runs to recommended lengths and inject power every 5 meters for 12V strips (or every 10 meters for 24V).
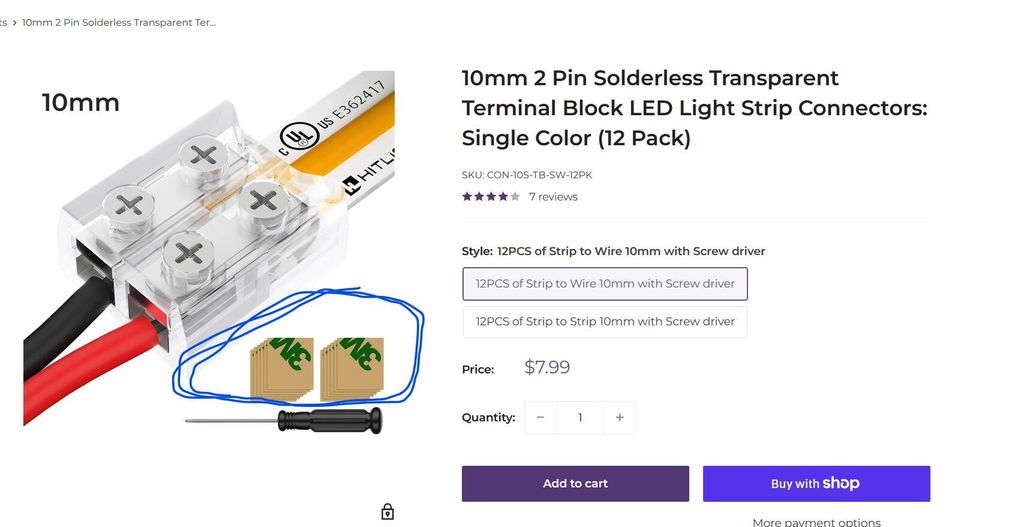
3. Poor Soldering or Connectors
Loose or bad solder joints and cheap connectors are common failure points.
-
Tip: Use high-quality connectors or consider direct soldering for reliability.
4. Skipping Heat Dissipation
LEDs generate heat. Without proper thermal management, the heat degrades LED components.
-
Tip: Use aluminum extrusion channels to act as a heat sink.
5. Improper Surface Prep Before Mounting
Installing on dusty or oily surfaces prevents the adhesive backing from sticking, leading to sagging or electrical shorts.
-
Tip: Always clean the mounting surface thoroughly before application.
Key LED Strip Troubleshooting Tips
Sometimes your installation is flawless, yet your LEDs still act up. Here are LED strip troubleshooting tips that can help isolate the problem:
1. Start with the Power Supply
Use a multimeter to verify output voltage under load. If the voltage drops below the strip’s rating, that’s your issue.
2. Check Polarity
Many LEDs won’t light if wired backward. DC power is polarity sensitive.
3. Test in Segments
Cut and test smaller sections of the strip to identify if the issue is localized.
4. Inspect for Shorts
Carefully look for exposed copper pads or stray wires that might be causing a short.
5. Swap Components
Use known working components to isolate what’s faulty: the controller, power supply, or the strip itself.
Following a methodical approach to troubleshooting reduces guesswork and prevents unnecessary replacements.
How to Extend the Lifespan of Your LED Light Strips
Just like any electrical device, LED strip lights benefit from good care and smart usage. Here are best practices to maximize their lifespan:
✅ Use a Quality Power Supply
Choose a power supply that is UL-listed and rated for continuous output.
✅ Avoid Overdriving
More power isn't always better. Match your LED strip to its specified voltage and current limits.
✅ Install in Controlled Environments
Avoid installing in high-moisture or extreme temperature areas unless the strips are IP65 or higher rated.
✅ Perform Routine Checks
Inspect connections, check for dust accumulation, and test brightness levels periodically.
✅ Avoid Over-Bending or Twisting
Too much flexibility leads to broken solder joints or cracked PCBs.
When installed and maintained properly, LED strip lights can easily last 25,000 to 50,000 hours, or up to 10 years in regular usage conditions.
Conclusion: Smarter Installs for Longer-Lasting Light
Premature LED strip failures are rarely due to manufacturing defects. Instead, they are usually the result of installer mistakes or improper troubleshooting. By understanding the common LED strip problems, avoiding installation blunders, and applying effective LED strip lights troubleshooting techniques, you can ensure your lighting setup lasts as long as promised, if not longer.
Whether you're lighting up a home theater, commercial space, or DIY project, taking a few extra steps during installation and maintenance can save you time, money, and frustration down the line.