
My wife and I recently bought our first home. We're loving all the joys of home ownership, but no house is perfect. That's right, as nice as it is we still have some design quirks to contend with. For instance, the living room floor squeaks in one spot. Then there's the refrigerator's ice maker that consistently sounds like an intruder is breaking in at 1am. And judging by the title of this article you may have already guessed, our kitchen countertops are too dark.
Our countertops are criminally dark. Here are a few pictures I'll submit as evidence.
I mean look at that:

- Exhibit A
This is a common problem. When your only light source is on the ceiling, your cabinets will create shadows that keep light from getting to the counter. And I'm not sure about your life choices, but the kitchen counter is the place I'm most likely to wield sharp objects. I'd prefer to be able to see exactly what I'm doing down there.
I work for an LED company, so I already knew what to do. LED tape lights are the perfect solution. They can light anything and go anywhere. We sell kits for this sort of application, but I'm hard headed and like to figure out things for myself. So, I'm going to share my custom solution with you.
STEP 1: TAKE MEASUREMENTS

I needed to measure where the lights would go, and I also had to account for where the wires would run as well. This helped me figure out how many reels of lights I would need.
STEP 2: ORDER PRODUCTS

Most of the LED tape lights sold by HitLights come on 5 meter reels (16.4ft), but I didn't want our regular strips. I wanted something super bright, and the Premium Luma20 strips were the perfect choice. Luma20 strips are 10 feet long. So, from my measurements I knew I needed 2 reels. I ended up getting one of our 40 foot spools of bare wire as well just to be safe.
My kitchen is split into two sections. One side has the sink, dishwasher and bar. The other has the stove, microwave and refrigerator. I didn't want to run wire into the ceiling, so I decided to get two wireless dimmers and two power supplies. That way I could control each side separately.
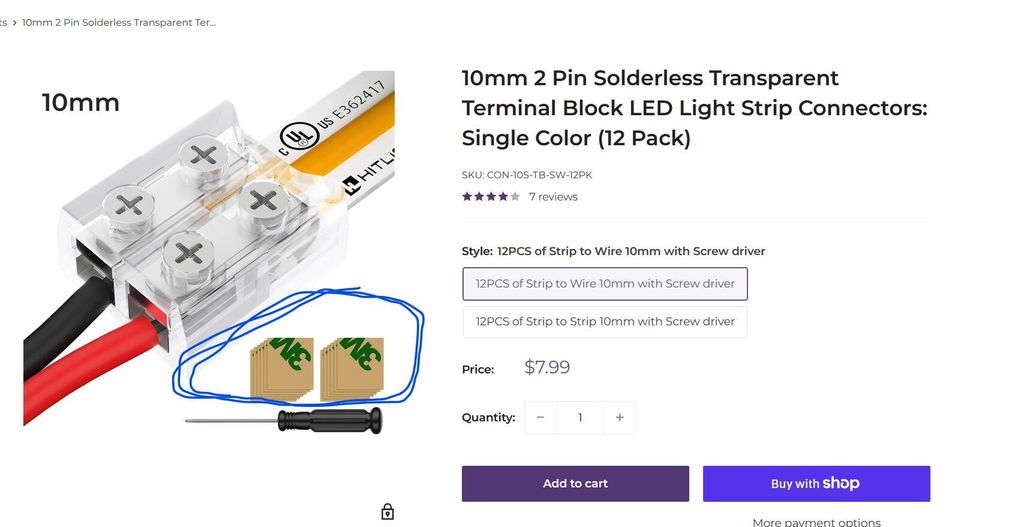
I knew I was going to hide the wires, so I got 2 x Wire Clip Packs. Of course these are tape lights, and the included adhesive should work fine for what I'm doing. However, I decided to go with our foam tape because it's extra sticky. I know it was a little overkill, but it works great. I thought about using connectors to make all of my connections which would have made things easier, but I wanted the most secure connection for my strips, solder.
Once I got everything together, I tested it all out to make sure it worked properly. I didn't want to be surprised after I installed my lights.
STEP 3: MAKE CUTS

I already had all of my measurements so making cuts was quick work. Since I had two reels, I left the female DC barrel plugs connected to the end of the strips that would go closest to the outlet. That way I didn't need to get any extra parts to connect my lights to the controllers. I measured out my wire too. And cut it to size.
STEP 4: ADD SOLDER (OPTIONAL)
added a little solder to the ends of my strips and wires. This step made it easier to solder the wires to the strips later on.
STEP 5: DRILL HOLES
Owning your home comes with a few perks. One being, you can do what you want with your cabinets. I drilled a few tiny holes to fit my wires through. This is where soldering my wires came in handy. If I had used connectors, I would have had to drill holes big enough to fit the terminals through. Also, don't forget that the strips go on the front side of the cabinet. So drill your holes close to the front, and it will be easy to hide the wires later.
STEP 6: RUN WIRES
This step is pretty self explanatory. I fished the wires through the holes I drilled and let them hang where they're going to go.
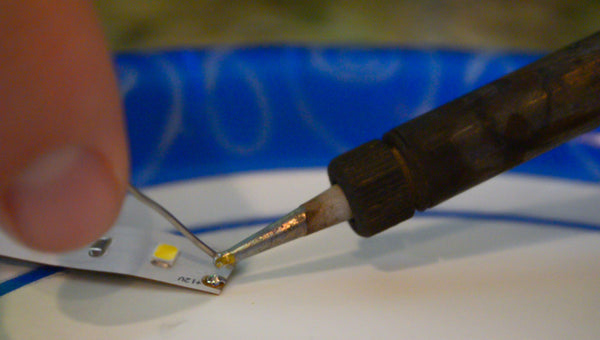
STEP 7: CONNECT WIRES TO STRIPS
 Since I already applied solder to the wires and the strips, all I had to do now was press the red wire to the positive terminal and then heat up the solder with my iron. Then I did the same on the negative terminal with the black wire. Repeat the steps with all of the strips.
STEP 8: MOUNT THE LIGHTS

Before I mount the strips I plugged the lights in right quick to test my connections. Everything looked fine. First I attached the double-sided foam tape to the cabinet. Then I removed the adhesive off of the light strips. Finally, I attached the lights to the foam tape.
STEP 9: HIDE THE WIRES

I hid the wires along the lip of the cabinet doors with wire clips. You just stick them where you want them and slip the wire in the clip.
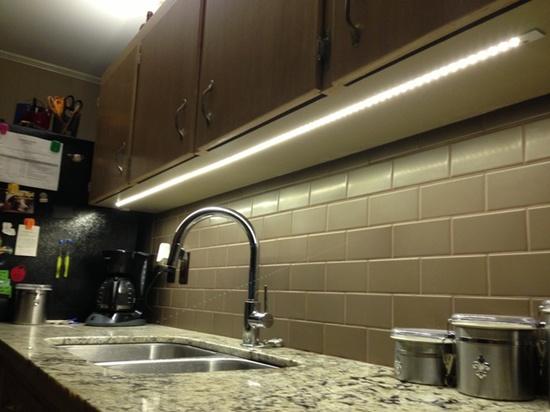
STEP 10: PLUG EVERYTHING IN

I connected the controllers to the strips, and then the power supplies to the controllers. And now my counters aren't dark anymore!
To see more of our project ideas and info about HitLights products, join our Professional Partner Program HERE. Risk-free!