Standard RGB and RGBW controllers do a fine job with simple setups. If you need multiple zones, then the T4 controller might be what you need. Read on to find out more...
To fully understand the power of the T4, let’s imagine a hypothetical LED light strip installation. This installation requires multicolor LED strips to be installed on either side of a large room. With standard RGB or RGBW controllers, you’d have a couple of options, neither of them ideal.
First, you could have two completely independent systems, with separate controllers and remotes. This installs easily, but you now have two remotes, which makes uniform color selection inconvenient. Worse, any color changing ‘animations’ or programs you select between the two will slowly go out of sync.
Second, you could install one large system, with low voltage RGB or RGBW wire running to either side from a central location. This is a more complicated installation, and requires you to have a centrally located power source, or to deal with inconsistent light output caused by voltage drop if you have two different lengths of wire. This also assumes you have the ability to make the wire run easily. What if the two sides are physically separated? What if they’re not sides at all, but entirely different rooms?
The T4 Control System solves the above problems, and more, by allowing you to sync multiple T4 receivers with one T4 remote control. Even better, the controller allows you to program multiple receivers to ‘zones’, and to select multiple zones at once. The possibilities are almost limitless!
With one T4 remote control and two T4 receivers controlling the two sides of our hypothetical room, we avoid having to run wire from one side to the other, while retaining the ability to set the color of both sides from one remote. Even better, if we want to run them independently, we can - simply by assigning them to separate zones.
Let’s expand our horizon a little further. How about a kitchen, with a separate zone for the top and the bottom of the cabinets? How about a house with one zone for the kitchen, one for the living room, and one for the dining room? All controlled with one remote. And as icing on our proverbial cake, the T4 system's 2.4 GHz RF signal can control your receivers through walls, ceilings, and more
Technical Specs :
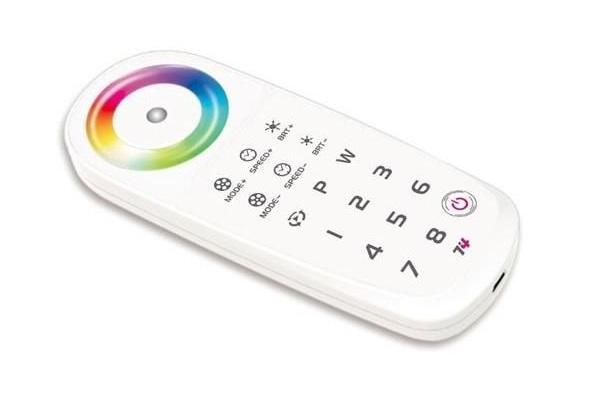
Remote :
• Keys : 19 (plus color wheel)
• Colors : RGB or RGBW
• Dimensions : 55 x 22 x 145 mm
• Part Number : CTR-T4C
Receiver
• Input : 5-24V DC (Screw Terminal)
• Output (RGB) : 180 Watts, 4 x Screw Terminal
• Output (RGBW) : 240 Watts, 5 x Screw Terminal
• Dimensions : 44 x 30 x 175 mm
• Part Number : CTR-T4R
Datasheet
Zone Assignment Instructions :
1) Connect the Receiver to Power and to the Light Strips
2) Turn on the Remote
3) Press the ‘ID Learning Button’ on the receiver, then hold one of the 1-8 number keys on the remote. The attached LED strips and the light on the controller should flash.
4) The Receiver is now programmed to the zone corresponding to the number you held in step 3.