
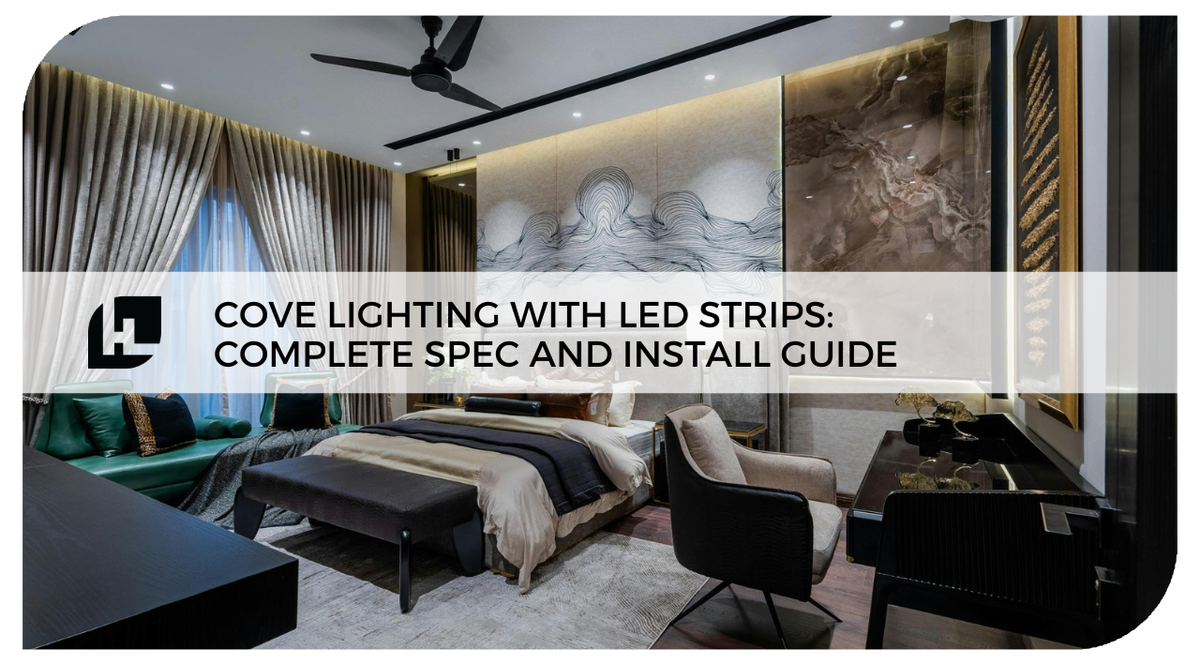
Cove lighting is the architectural lighting technique that turns an ordinary room into a designed space. When it's done right, the ceiling plane glows with an even, warm wash of light that appears to float. When it's done wrong, you see LED hotspots, dead zones, and channel edges that break the illusion.
Here's how to get the spec and installation right.
What Makes Cove Lighting Work
Cove lighting uses an indirect light source — the LED strip is hidden inside a recess or above a ledge, and only the reflected light on the ceiling is visible. The key visual requirement is that the light appears completely continuous and even across the entire ceiling wash. Any visible LED hotspot, any dim section, any break in the glow breaks the effect.
This means the strip spec and installation method matter more in cove applications than in almost any other use case. The viewer's attention is drawn to the ceiling, not the strip itself. Every imperfection is visible.
Strip Selection for Cove Lighting
COB strips are the premium choice. COB (Chip-on-Board) technology produces a truly continuous light line with no individual LED points visible at any run length. In a cove application where the strip is viewed at oblique angles from below, COB strips eliminate the dot pattern that standard strips can show through the diffuser lens at shallow viewing angles.
High-density standard strips (120+ LEDs/meter) are a viable alternative when combined with a frosted diffuser lens and sufficient throw distance between the strip and the ceiling. At 120+ LEDs/meter, the individual points merge visually at normal cove dimensions. At lower densities (60 LEDs/meter or below), visible dots may appear in the ceiling wash.
Single-color white strips are used for architectural cove lighting in most residential and commercial applications. Warm white (2700K–3000K) creates the warmest, most intimate glow. Neutral white (3500K–4000K) reads cleaner and is preferred in contemporary or commercial interiors.
Aluminum Channel Selection for Coves
For cove installations, recessed channels are the correct choice — not surface-mount. Recessed channels sit flush with or below the cove ledge, making them invisible from below. The strip sits inside the recessed profile, and the diffuser lens provides a uniform light exit aperture.
For wider coves or higher-output requirements, medium-diffusion channels (wider U-profile) are sometimes preferred over slim recessed profiles because they allow more light exit area for the same wattage.
The channel also serves as the heat management solution. In cove applications where the strip is often running for extended periods, the aluminum body conducts heat away from the LEDs and extends their lifespan. Never run high-density strips in a cove without channel for this reason alone.
Throw Distance: How High Should the Cove Be?
The throw distance — the space between the LED strip and the ceiling plane it illuminates — determines how evenly the light distributes. A minimum throw distance of 6 inches produces reasonable distribution. 8–12 inches is the professional standard for even ceiling washes. Under 4 inches will show visible bright and dark banding no matter what strip you use.
If you're designing a new cove, build in at least 8–10 inches of throw distance from the strip position to the ceiling. Retrofitting a cove with insufficient throw distance requires either relocating the strip position or accepting visible banding.
Dimming for Cove Applications
Cove lighting in residential and hospitality applications is almost always dimmable. The ability to dim from full brightness for task and daytime use to 10–20% for evening ambiance is a primary reason clients choose cove lighting.
Use a dimmable driver rated for the total cove load plus 20% buffer. For large coves over 40 feet, consider multiple drivers on separate dimmer channels so different sections of the ceiling can be controlled independently.
For complete dimmer compatibility guidance, see our guide on dimmable LED strip lights.
Voltage Drop in Long Cove Runs
Cove installations in commercial spaces often run 40–100+ feet. At these lengths, voltage drop becomes significant even with 24V strips. The solutions:
- Power inject at the midpoint of the run (feed power from both ends)
- Use multiple power supplies positioned at intervals along the run
- Use 24V rather than 12V (always, for commercial cove work)
Do not attempt a 60-foot cove run from a single 12V source. The far end will be noticeably dimmer and the client will notice immediately.
Installation Sequence
- Confirm throw distance: measure from proposed strip position to ceiling surface. Minimum 6 inches; 8–10 preferred.
- Select strip: COB or high-density, 24V, single color
- Calculate total load: watts per foot × total run length × 1.2 = minimum driver wattage
- Select recessed channel: width matches strip width; length cut to each cove section
- Mount channels inside cove recess using mounting clips
- Insert strip into channel; press firmly for full adhesive contact
- Route wire leads through cove structure to power supply location
- Connect power and test before installing diffuser lenses
- Install diffuser lenses; verify no visible seams at channel joints
- Commission dimmer and verify smooth fade at all levels
Products for Cove Lighting
- High Density LED Strip Lights
- Aluminum LED Channels — Recessed Profiles
- Dimmable Drivers
- UL Listed LED Strip Lights
Updated September 2026 | HitLights — Factory-Direct LED Strip Lighting Since 2010