
Indoor LED Strip Light Kits: The Complete Buying Guide to COB, RGB & Under-Cabinet Lighting
Picking an indoor LED strip light kit sounds simple until you're staring at a product page full of unfamiliar abbreviations — COB, CRI, IP30, 12V vs. 24V — and trying to figure out which combination actually works together. A complete indoor LED strip lighting kit needs four parts to function safely: the strip itself, a power supply, a controller or dimmer, and connectors to tie it all together. Get any one of those wrong — the wrong voltage, an undersized power supply, a dimmer that isn't compatible with your strip type — and the install either won't work or won't last. This guide walks through exactly how to choose each piece, and where popular use cases like under-cabinet and cove lighting fit in.
What's Actually in an Indoor LED Strip Light Kit?
A complete indoor LED strip lighting kit is built from four core components: the LED strip itself, a power supply that steps household voltage down to the strip's low-voltage DC, a controller or dimmer to adjust brightness (or color), and connectors to join strip runs and route power. Skip the power supply sizing or mismatch the dimmer, and even a well-made strip will underperform or fail early.
Indoor strips are typically rated IP30, meaning they're built for dry, indoor locations with no protection against moisture — that's different from IP65 (gel-coated, splash-resistant) or IP67 (fully encased) strips made for patios and outdoor signage. If your project is a kitchen, closet, media room, or retail display, IP30 indoor product is the right category, and it's also the most affordable and easiest to work with. Save the outdoor-rated, silicone-encased strips for patios, gardens, and signage — indoor kits aren't built to handle direct moisture, and paying for weatherproofing you don't need is money better spent on a better power supply or dimmer.
COB vs. Standard-Density LED Strips: What's the Difference?
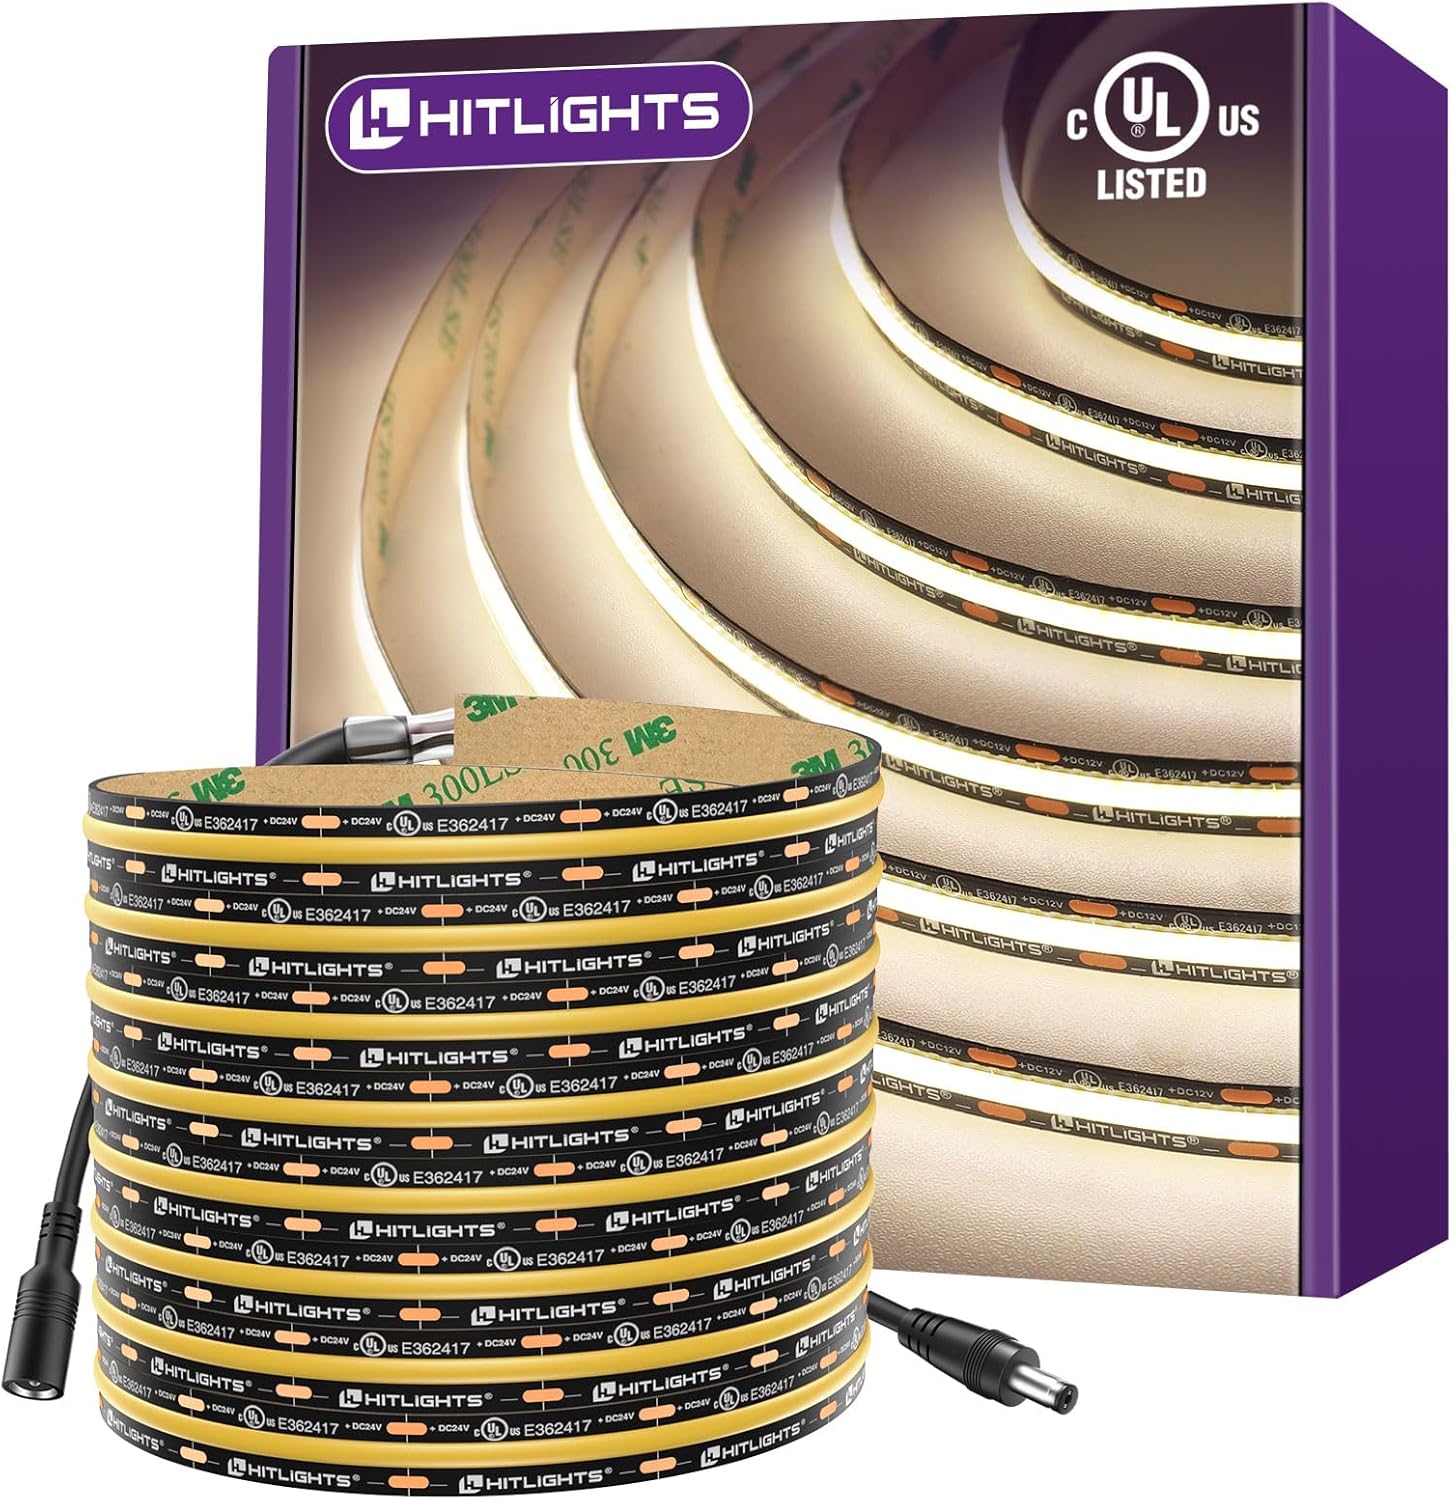
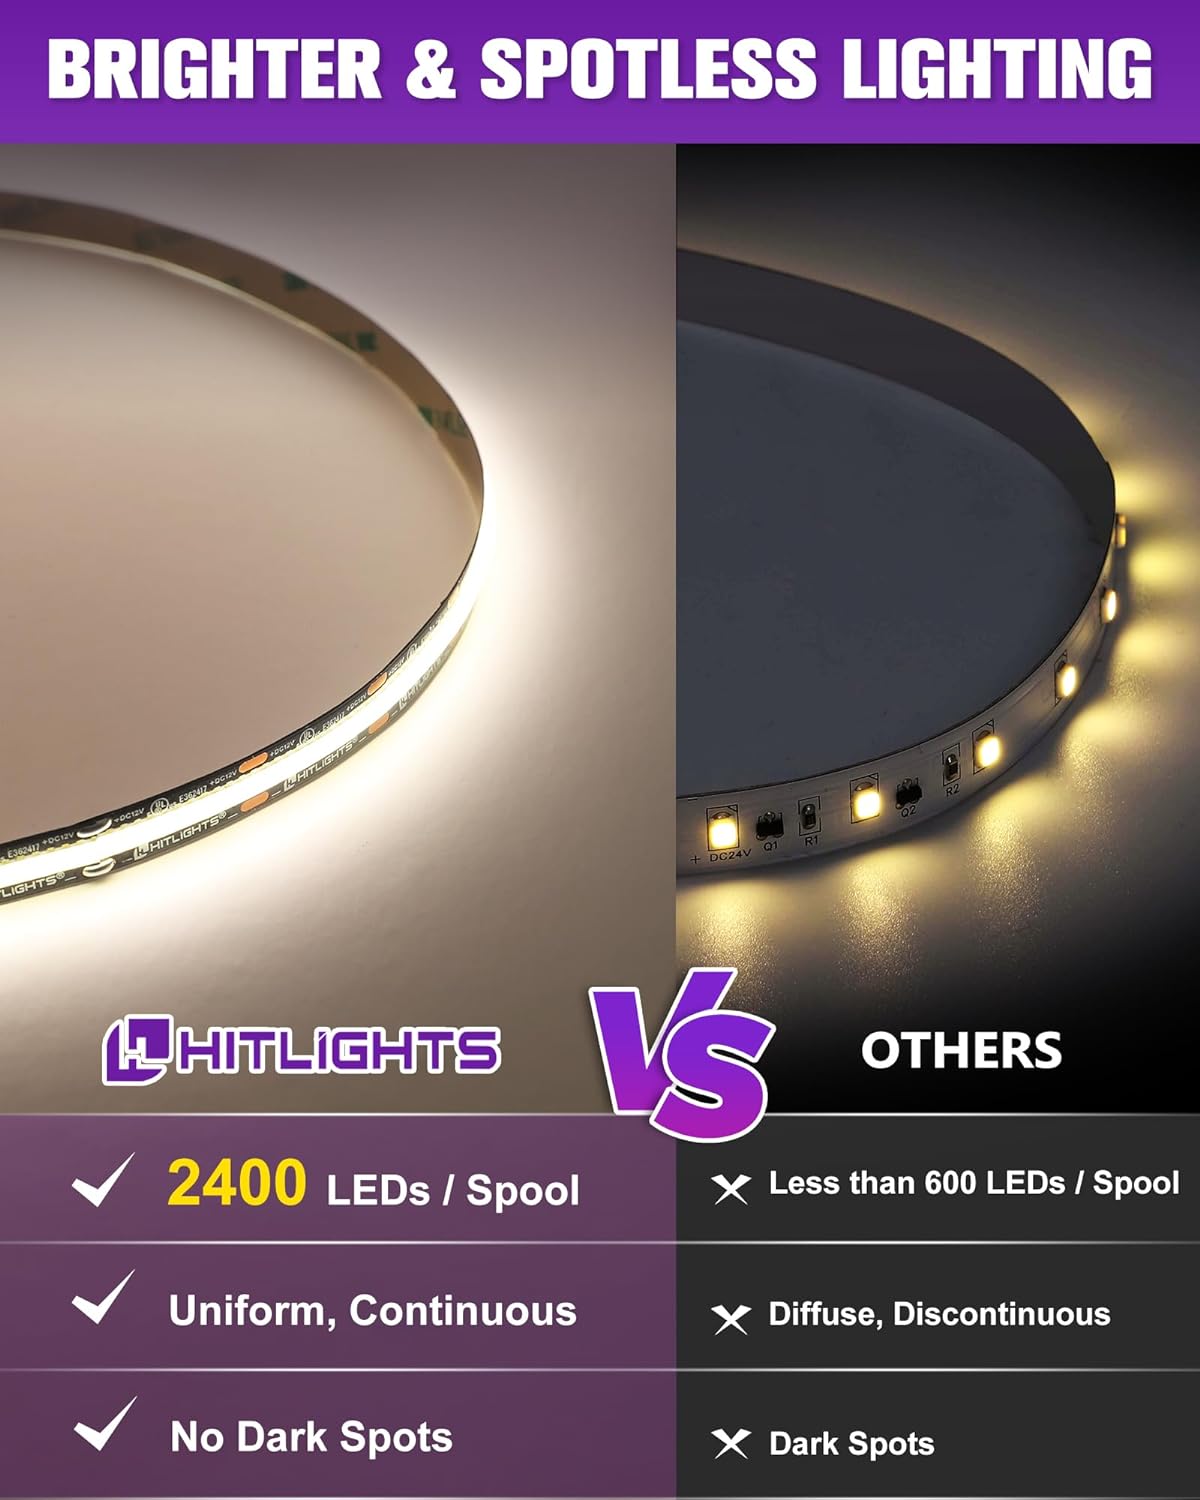
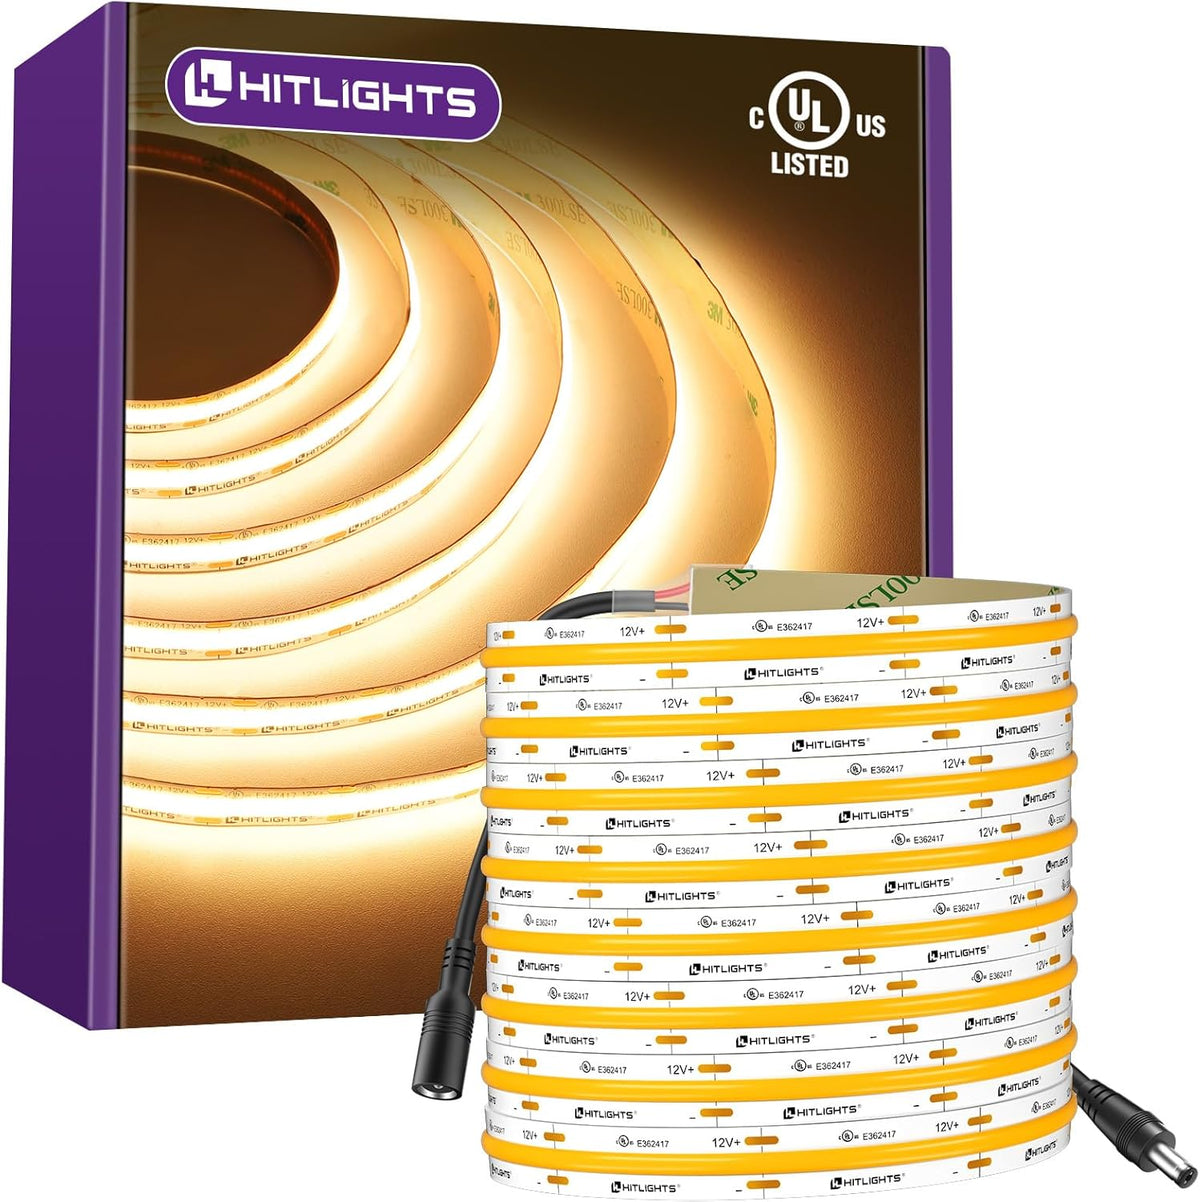
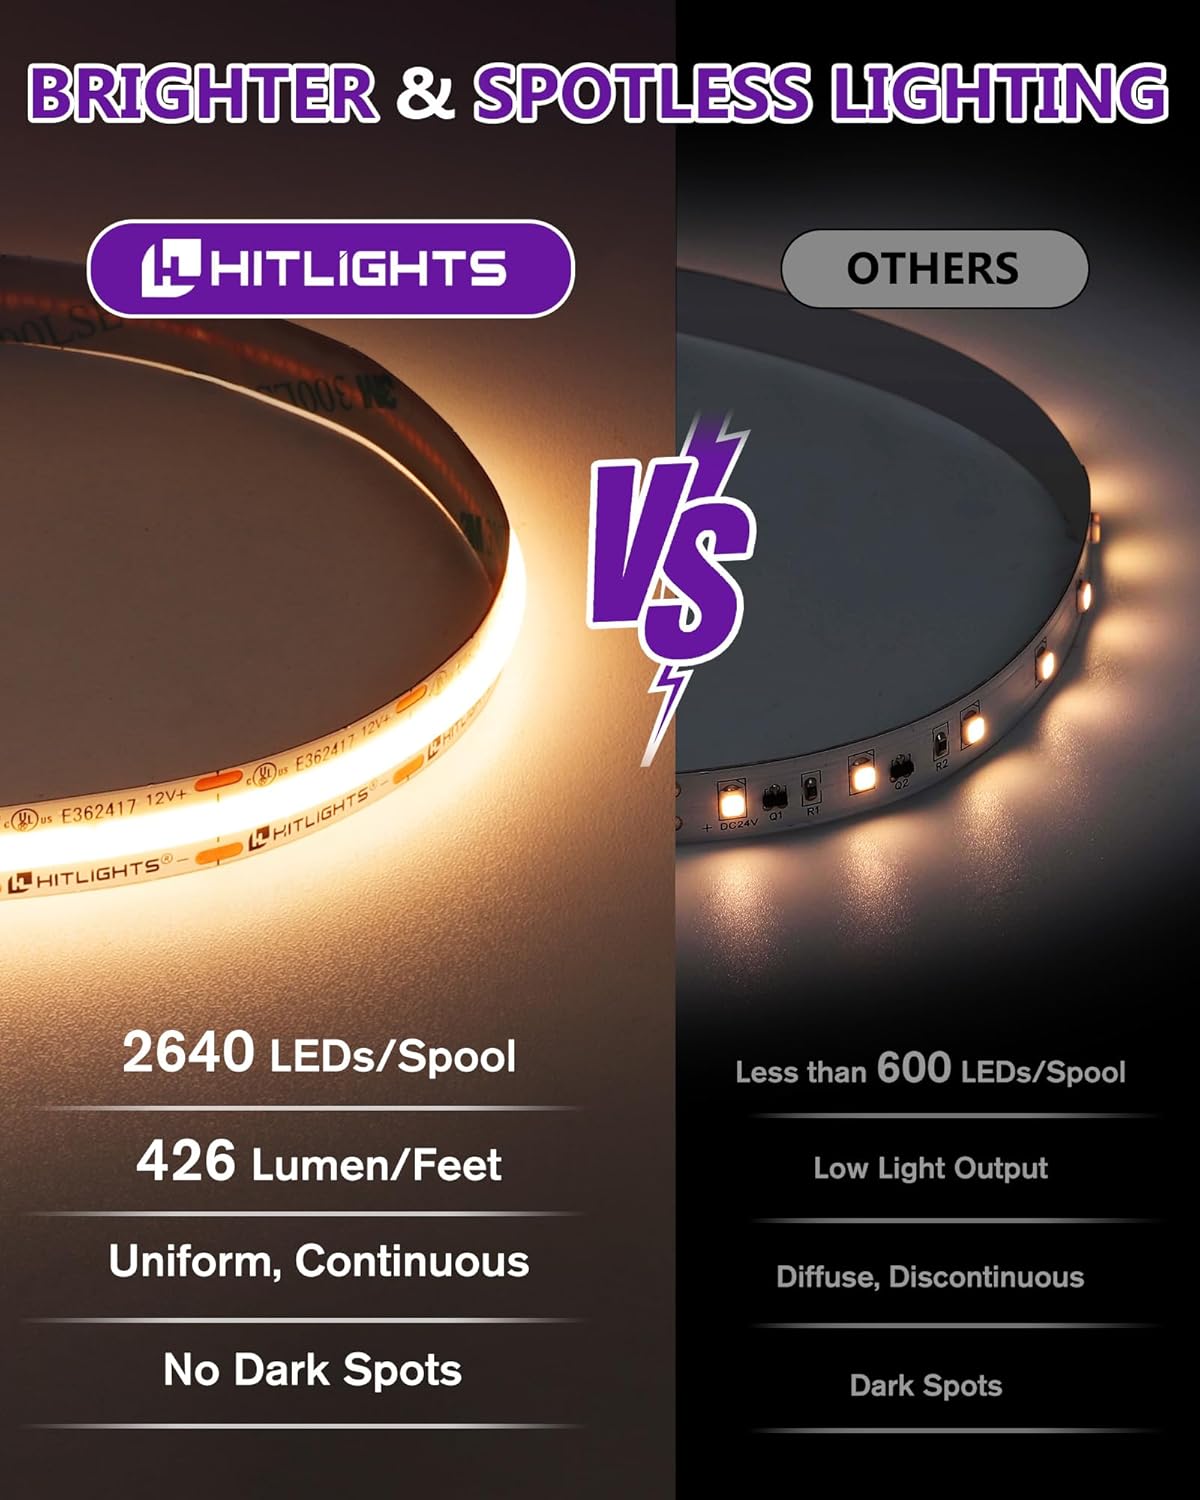
The main practical difference is visible dotting. Standard-density strips space individual LEDs a few millimeters apart, and up close you can see each diode as a distinct point of light. COB ("chip-on-board") strips pack the diodes far more densely and diffuse them across the board, producing a continuous, dot-free line of light — which is why they're often sold as "spotless" strips.
That smoother look matters most in applications where the strip itself is visible rather than hidden — floating shelves, exposed cove details, or accent lines along furniture. If the strip is tucked behind a lip or under a cabinet where you only see the reflected glow, standard-density product does the job for less money. Either way, look for strips rated CRI ≥90 if color accuracy matters (kitchens, retail, anywhere you're judging how things actually look under the light) — nothing worth stocking should fall below 70 CRI, but 90+ is the difference between light that looks "clean" and light that mutes colors.
RGB vs. RGBW: Which Color System Do You Need?
RGB strips mix red, green, and blue diodes to produce millions of colors, controlled through a compatible RGB controller. RGBW adds a dedicated white diode alongside the RGB channels, which produces a cleaner, truer white than mixing red-green-blue alone can achieve — useful if you want both colored accent lighting and a reliable white mode from the same strip.
Multi-color and addressable strips need their own compatible controller and are not compatible with single-color dimmer/driver combos like the EZDim Pro line — that hardware is built specifically for constant-voltage, single-color strips. If you want both a plain white workhorse strip in one room and RGB accent lighting in another, plan on two separate control systems rather than trying to run both off the same dimmer.
12V or 24V — Does Voltage Matter for Your Install?
Both run standard indoor strips reliably; the difference shows up over distance. 24V strips experience less voltage drop across a run, which means less dimming toward the far end of a long strip and support for runs of up to roughly 65 feet from a single power supply. 12V is the more common choice for shorter DIY runs — a single cabinet, a closet, a small accent line — where voltage drop isn't a practical concern.
If you're already committed to a specific power supply or dimmer, check its voltage rating first: 12V and 24V components aren't interchangeable, and every strip, driver, and dimmer in a kit needs to match.
How to Choose the Right Power Supply and Dimmer
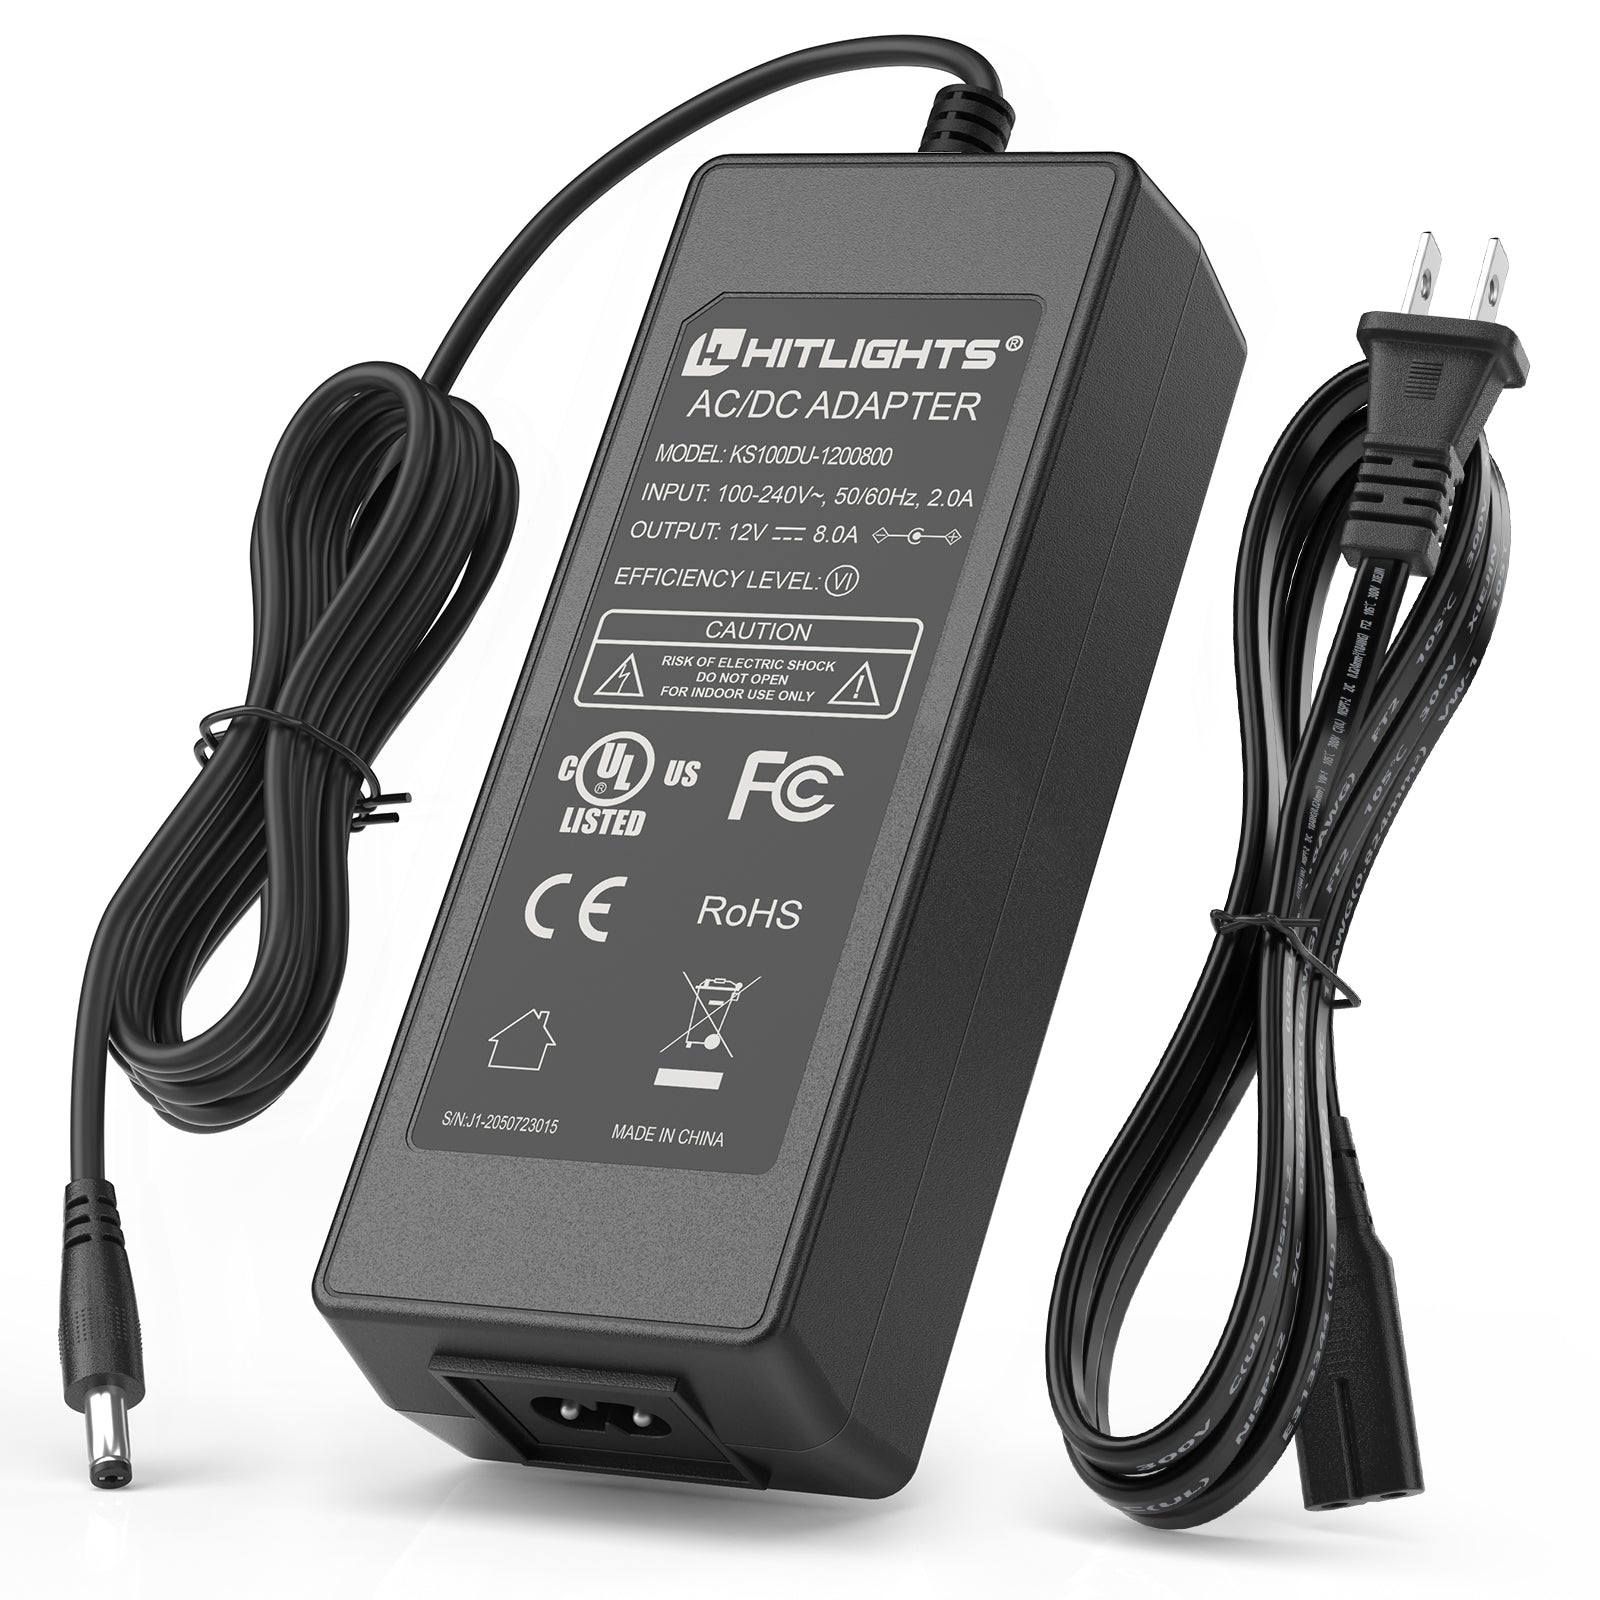
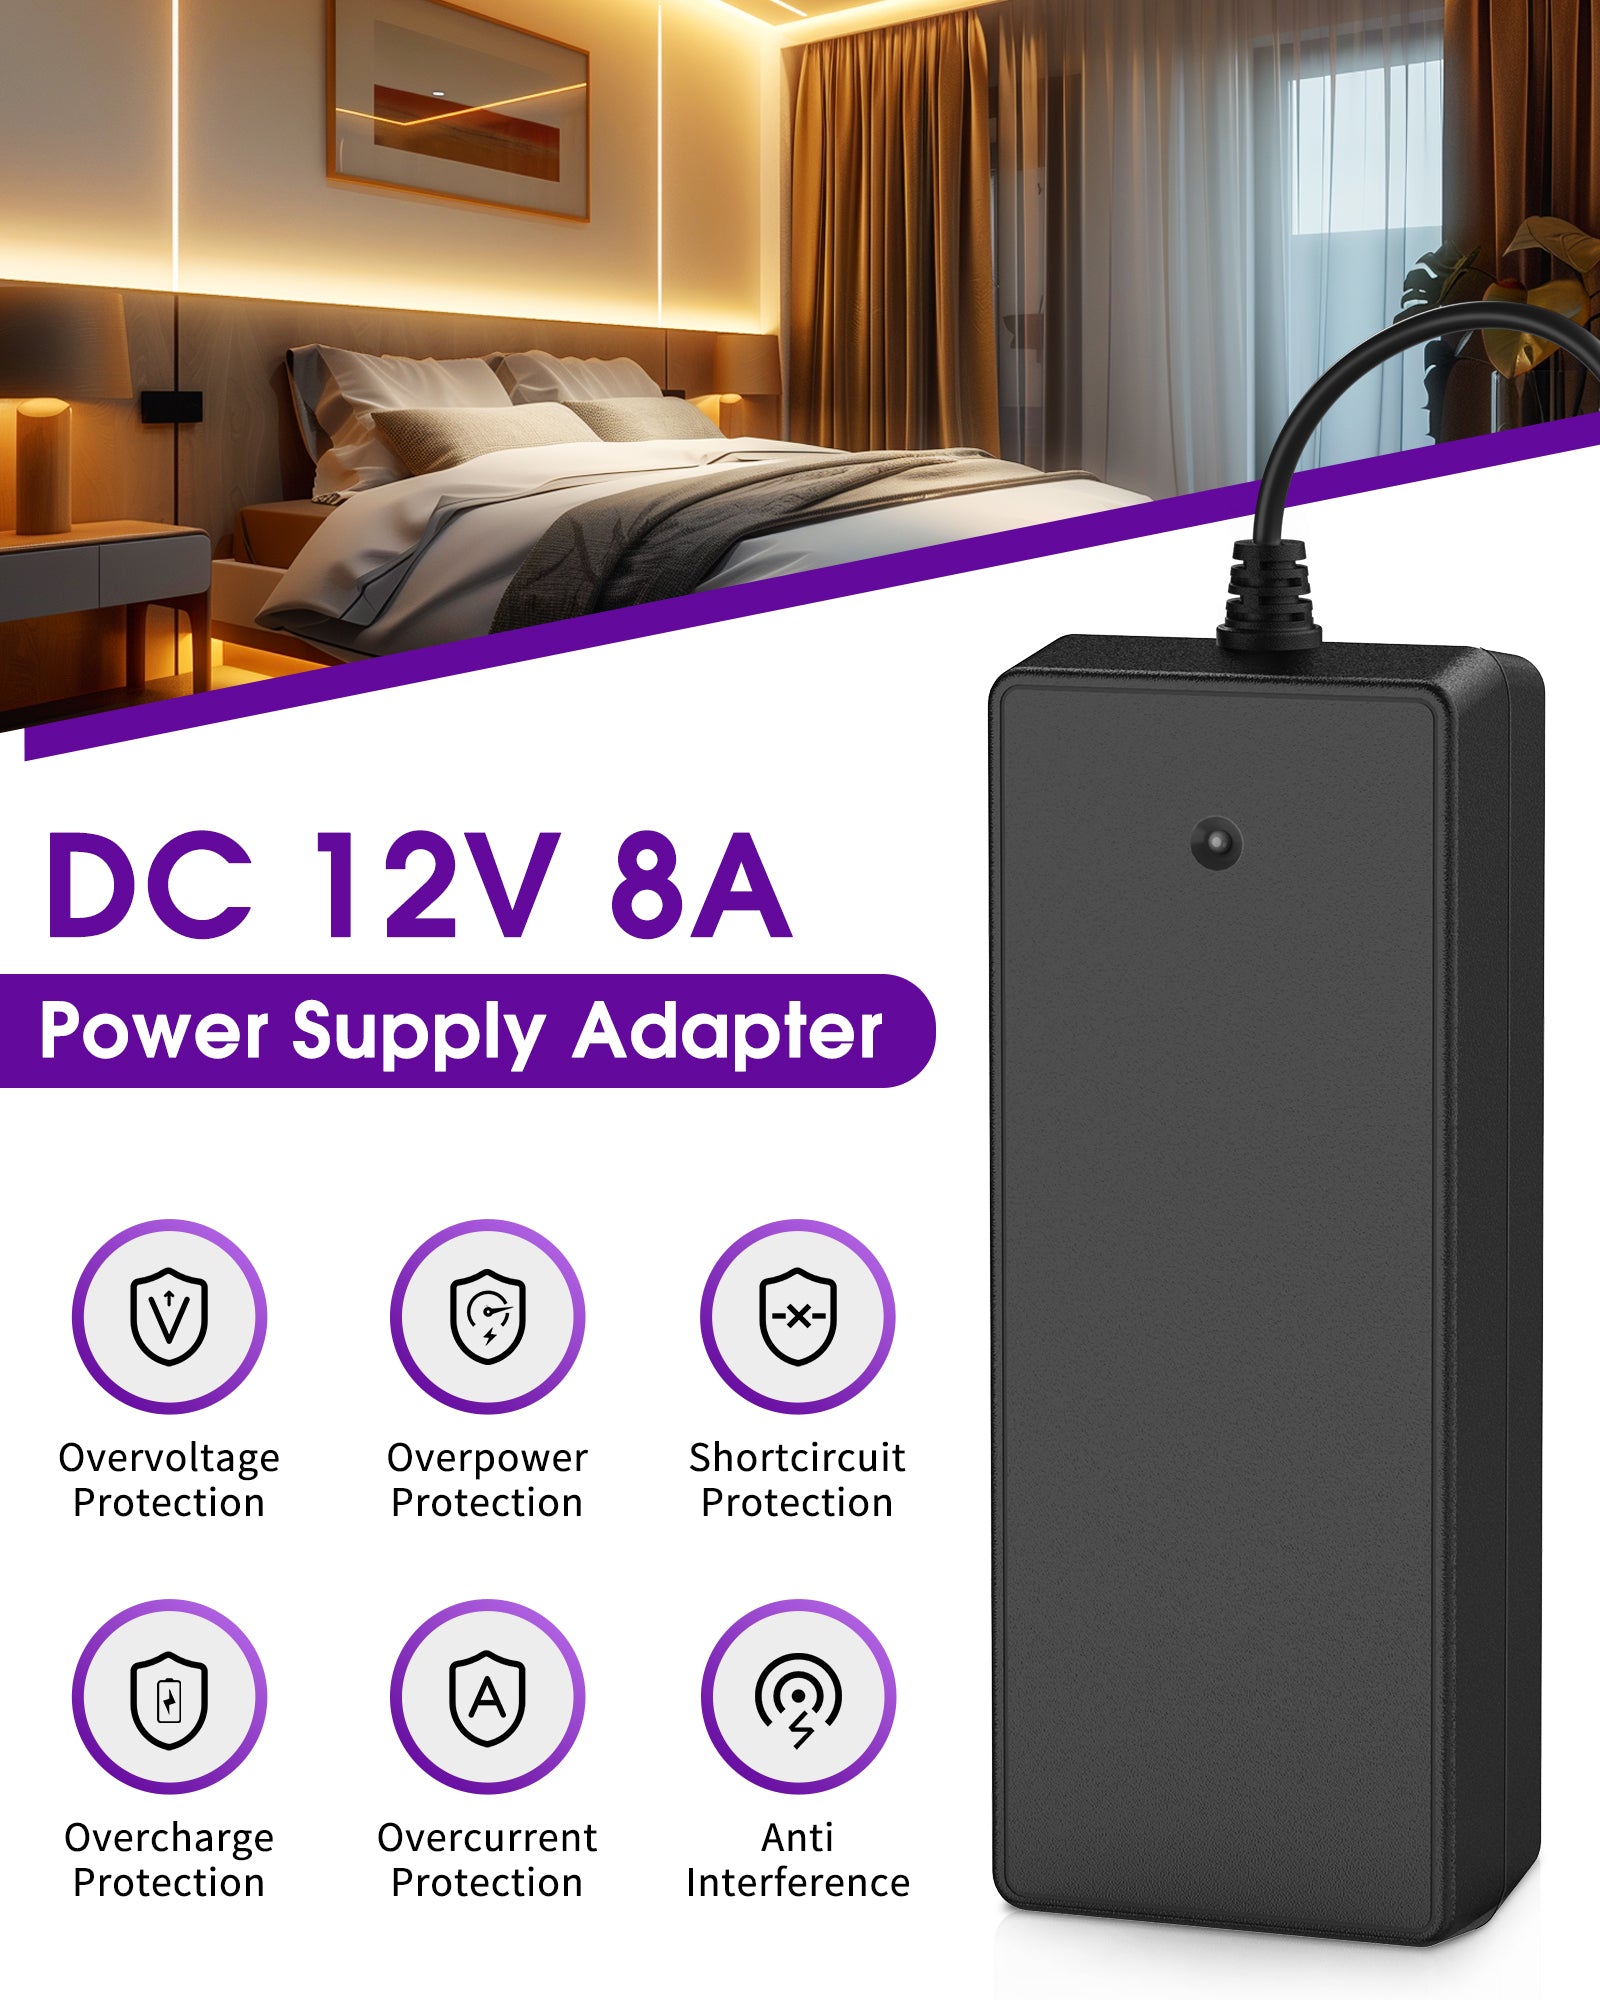
Size the power supply to the load, not just the strip length — a good rule of thumb is to keep your strip's total wattage at or under 80% of the power supply's rated capacity, which protects both the driver and the strip over the long run. A 96W 12V power supply, for example, is a plug-and-play, UL-listed option built for non-dimmable indoor runs, running around 86% efficiency with a multi-year warranty — solid for a straightforward "strip on, strip off" install.
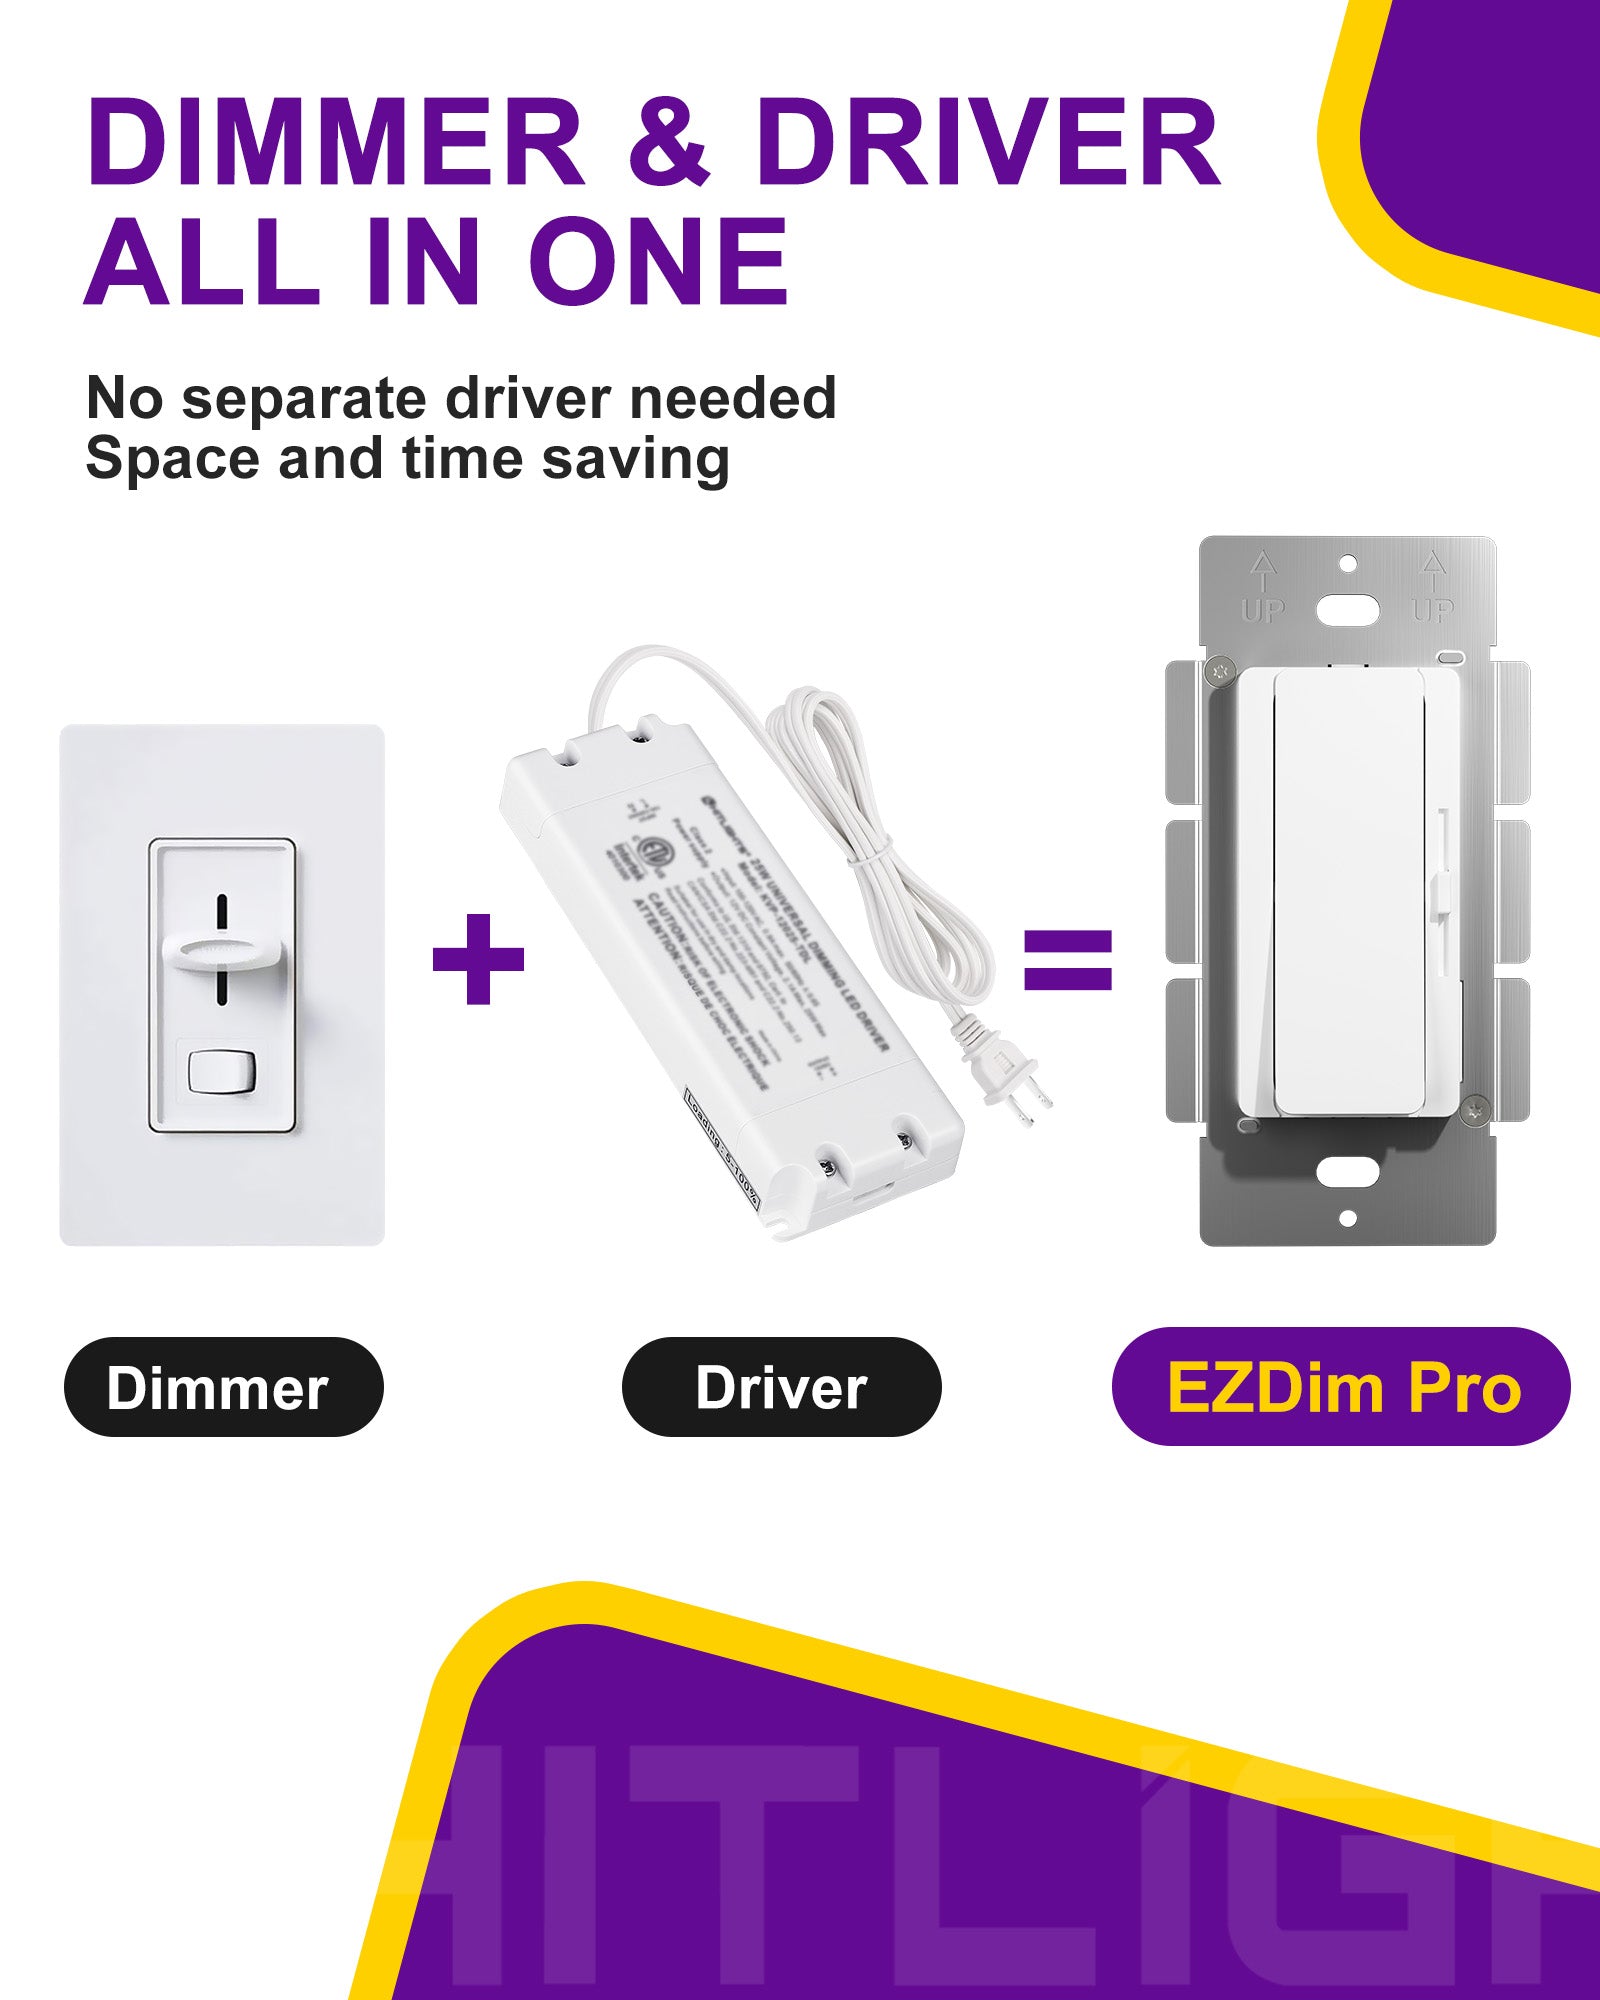
If dimming matters, an integrated dimmer/driver combo like the EZDim Pro line combines the driver and the wall dimmer into a single in-wall unit, so there's no separate compatibility guessing between the two. It mounts in a standard gang box, works single-pole or 3-way, remembers your last brightness level after a power outage, and dims smoothly from 100% down to 0.3%. It's rated for single-color, constant-voltage strips only — not RGB/RGBW or addressable — and like the rest of the category, it's indoor-only (IP30) and UL listed. If you'd rather control brightness or color without in-wall hardware, PWM dimmers, IR/RF remotes, and Wi-Fi/Zigbee smart modules are all common alternatives.
Best Uses for LED Strip Lighting: Under-Cabinet, Cove, and Accent
Under-cabinet lighting is one of the most searched — and most practical — uses for indoor LED strips, and it's a good example of why the four-component approach matters: a strip alone doesn't give you dimmable, even light along a full run of cabinets; a strip, power supply, and dimmer together do. The same logic applies to cove lighting (tucked into a ceiling recess for indirect, ambient glow) and shelf or furniture accent lighting, where a strip is mounted along an edge to define a line of light rather than illuminate a task area.
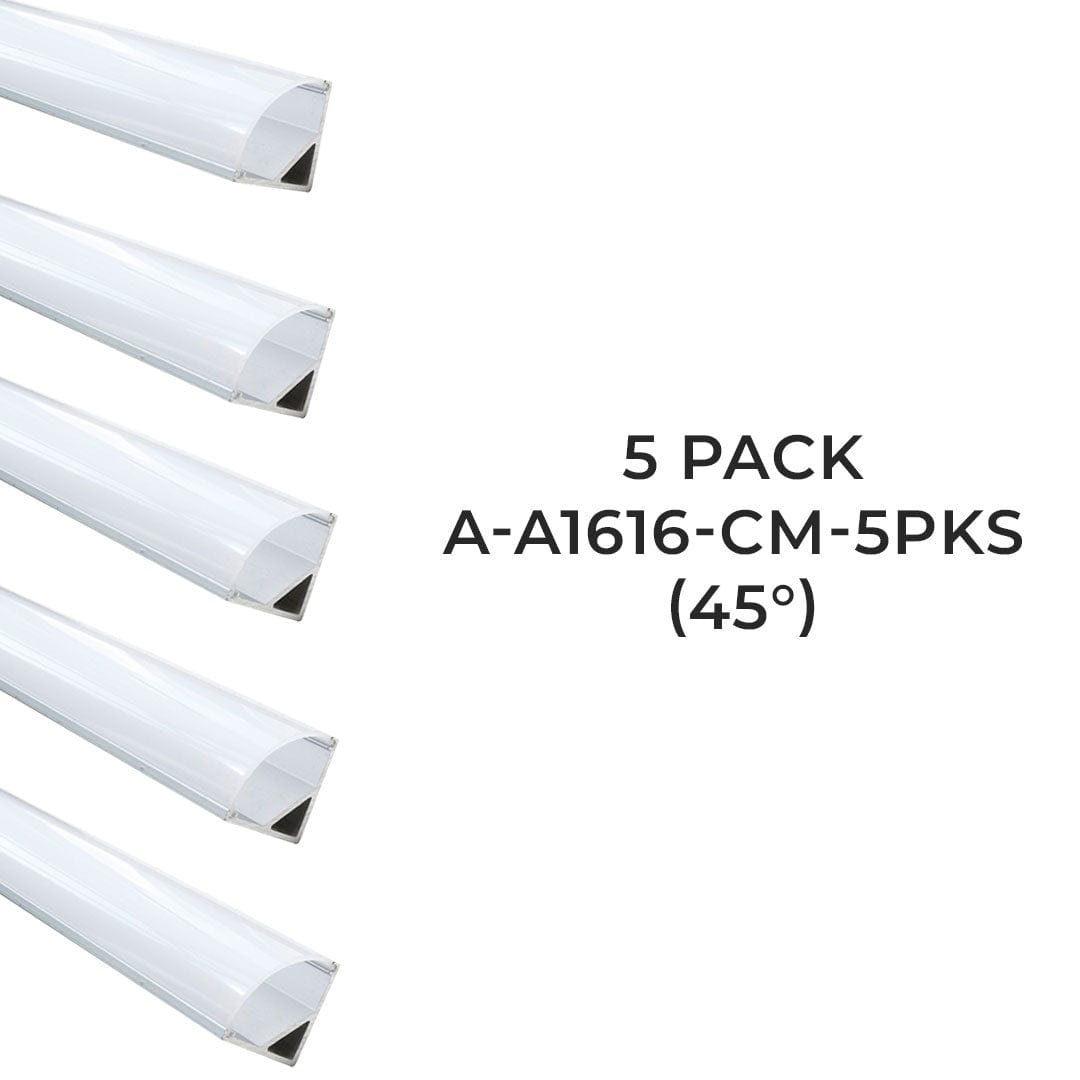
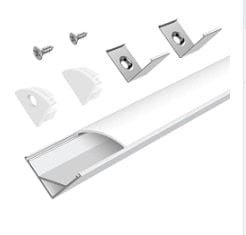
Two details make these installs cleaner: strips are cuttable at marked lines (commonly every 3 to 6 LEDs), so you can size a run to an exact cabinet or shelf length instead of working around a fixed strip length, and aluminum mounting channels — beyond just holding the strip in place with the strip's built-in 3M adhesive backing — help dissipate heat and give the finished install a straighter, more finished line than adhesive alone.
Why UL Listing Matters When Buying LED Strip Lights
UL listing means a product has been independently tested against US safety standards and manufactured in a UL-certified facility — it's not a marketing label, it's a code-compliance signal that matters for insurance, inspections, and simple electrical safety. Cheap uncertified strips sold on marketplaces often skip this step entirely, which is a real risk difference, not just a paperwork one. Look for UL listing (along with RoHS compliance, which restricts hazardous materials) on both the strip and every power supply or dimmer in the kit, not just one component.
How to Install an LED Strip Light Kit in 4 Steps
- Measure and cut. Cut the strip only at the marked cut lines (typically every 3–6 LEDs) to fit your exact run length.
- Connect. Join strip segments and route wiring to your power supply using compatible connectors — no soldering required for most snap or clip connectors.
- Mount. Clean the surface, then apply the strip's 3M adhesive backing directly, or set it into an aluminum channel first for better heat dissipation and a cleaner finished edge.
- Power and dim. Connect to a correctly sized power supply (staying under about 80% of its rated capacity) and, if you want adjustable brightness, a compatible dimmer or driver rated for your strip type.
Frequently Asked Questions
What's the difference between COB and standard-density LED strips?
The main practical difference is visible dotting. Standard-density strips space individual LEDs a few millimeters apart, so up close you can see each diode as a distinct point of light. COB (chip-on-board) strips pack the diodes far more densely and diffuse them across the board, producing a continuous, dot-free line of light — which is why they're often sold as "spotless" strips.
RGB vs. RGBW LED strips — which one do I need?
RGB strips mix red, green, and blue diodes to produce millions of colors through a compatible RGB controller. RGBW adds a dedicated white diode alongside the RGB channels, producing a cleaner, truer white than mixing red-green-blue alone can achieve. Neither is compatible with single-color dimmer/driver combos like the EZDim Pro line, which are built specifically for constant-voltage, single-color strips.
Should I choose a 12V or 24V LED strip light?
Both run standard indoor strips reliably; the difference shows up over distance. 24V strips experience less voltage drop across a run, supporting runs of up to roughly 65 feet from a single power supply. 12V is the more common choice for shorter DIY runs — a single cabinet, a closet, a small accent line — where voltage drop isn't a practical concern.
Why does UL listing matter when buying LED strip lights?
UL listing means a product has been independently tested against US safety standards and manufactured in a UL-certified facility. It's a code-compliance signal that matters for insurance, inspections, and electrical safety — cheap uncertified strips sold on marketplaces often skip this step entirely, which is a real risk difference, not just a paperwork one.
How do I size a power supply for an LED strip light kit?
Size the power supply to the load, not just the strip length. A good rule of thumb is to keep your strip's total wattage at or under 80% of the power supply's rated capacity, which protects both the driver and the strip over the long run.
What Does a Complete Indoor LED Strip Light Kit Cost?
Pricing varies by strip type and voltage, but a realistic budget looks something like this: single-color 16.4-foot strips run roughly $37–$50, COB "spotless" strips land in a similar $37–$50 range, and RGB or RGBW strips — with the added diodes and control circuitry — typically run $65–$75 for the same 16.4-foot length. On the hardware side, a basic non-dimmable power supply is often around $30–$35, while an integrated dimmer/driver combo like the EZDim Pro runs closer to $100 since it replaces two separate components. Aluminum mounting channels are a smaller add-on, generally under $25 for a multi-piece pack.
Add it up, and a full single-room kit — one strip, one power supply or dimmer, and mounting channel — typically falls somewhere between $100 and $175 depending on whether you add dimming and which strip type you choose. That's also where a promotion like buy 3, get 1 free changes the math meaningfully: stacking a strip, a power supply, and a dimmer into one order can make the fourth item effectively free, which is a genuine discount on a real multi-component purchase rather than a markdown on a single item.
Save on Indoor LED Strip Lighting Essentials This Labor Day
If you've been putting off a lighting project because sourcing all four pieces felt like extra work, this is a good time to start: HitLights' Labor Day Lighting Essentials collection bundles single-color and COB "spotless" strips, RGB and RGBW strips, power supplies, the EZDim Pro dimmer/driver, and aluminum mounting channels — with buy 3, get 1 free running on selected products all September. Everything in the collection is UL listed and built for indoor installs, so whether you're finishing a kitchen, a closet, or an accent wall, you can source a matched kit in one order instead of piecing it together from multiple vendors.
Conclusion
The fastest way to a lighting install that actually works is to think in kits, not single products: match your strip type (standard-density or COB, single-color or RGB/RGBW) to a power supply sized with room to spare, and a dimmer or controller rated for that exact strip. Voltage, IP rating, and UL listing aren't fine print — they're what determines whether the finished install is safe, dimmable, and built to last. Once those four pieces line up, under-cabinet, cove, and accent lighting all come down to the same short checklist: measure, cut, mount, and power.
![HitLights Single Color LED Light Strips Premium Luma5 LED Light Strip, Single Color (UL-Listed) 16.4 Feet - High Density [IP-30]](http://hitlights.com/cdn/shop/files/premium-luma5-led-light-strip-single-color-ul-listed-16-4-feet-high-density-ip-30-hitlights-15661504626767.jpg?v=1698881955&width=1132)
![HitLights Single Color LED Light Strips Premium Luma5 LED Light Strip, Single Color (UL-Listed) 16.4 Feet - High Density [IP-30]](http://hitlights.com/cdn/shop/files/premium-luma5-led-light-strip-single-color-ul-listed-16-4-feet-high-density-ip-30-hitlights-15170363490383.jpg?v=1698903546&width=988)
![HitLights Single Color LED Light Strips Premium Luma5 LED Light Strip, Single Color (UL-Listed) 16.4 Feet- Standard Density [IP-30]](http://hitlights.com/cdn/shop/files/premium-luma5-led-light-strip-single-color-ul-listed-16-4-feet-standard-density-ip-30-hitlights-3736321130575.jpg?v=1698903908&width=1000)
![HitLights Single Color LED Light Strips Premium Luma5 LED Light Strip, Single Color (UL-Listed) 16.4 Feet- Standard Density [IP-30]](http://hitlights.com/cdn/shop/files/premium-luma5-led-light-strip-single-color-ul-listed-16-4-feet-standard-density-ip-30-hitlights-3736321228879.jpg?v=1698903911&width=1000)
![HitLights Single Color LED Light Strips Warm White 3000K Premium 24V COB LED Strip Light, Single Color (UL-Listed) 16.4ft [IP-30]](http://hitlights.com/cdn/shop/files/premium-24v-cob-led-strip-light-single-color-ul-listed-16-4ft-ip-30-l0524v-303-1630-u-warm-white-3000k-hitlights-38287035760880.jpg?v=1698893836&width=1586)
![HitLights Single Color LED Light Strips Premium 24V COB LED Strip Light, Single Color (UL-Listed) 16.4ft [IP-30]](http://hitlights.com/cdn/shop/files/premium-24v-cob-led-strip-light-single-color-ul-listed-16-4ft-ip-30-hitlights-38287056568560.jpg?v=1698894000&width=1600)

![RGBW CSP strip (UL-Listed) 16.4ft [IP30]](http://hitlights.com/cdn/shop/files/1_af9031fd-128e-4190-89fd-ec6210290eb2.jpg?v=1731047038&width=1080)
![RGBW CSP strip (UL-Listed) 16.4ft [IP30]](http://hitlights.com/cdn/shop/files/IP30-CSP-RGB_fab162da-ab60-4cb8-822e-a04d41bb823c.jpg?v=1731047037&width=1080)
![RGB CSP strip (UL-Listed) 16.4ft [IP30]](http://hitlights.com/cdn/shop/files/1_8211e4da-8cc3-49d7-a3e7-e2a1eeab859c.jpg?v=1731046846&width=1080)
![RGB CSP strip (UL-Listed) 16.4ft [IP30]](http://hitlights.com/cdn/shop/files/2_6249e9d7-e89e-491a-bd8d-f24deadedd88.jpg?v=1731046846&width=1080)