Table of Content
Introduction
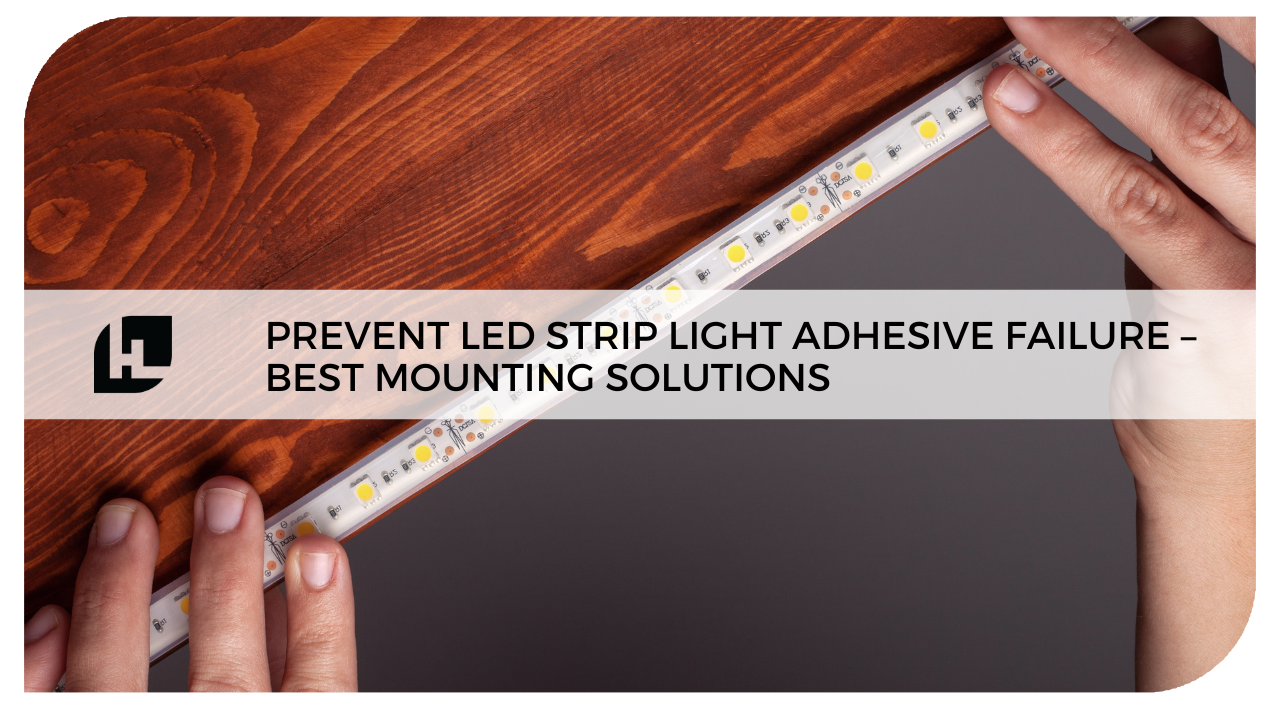
LED strip lights are a popular choice for home and commercial lighting due to their flexibility, energy efficiency, and ease of installation. However, one common issue users face is adhesive failure, which causes the strips to fall off surfaces prematurely. This problem often stems from improper surface preparation, low-quality adhesive tape, or environmental factors. In this guide, we'll explore the best techniques for preventing LED strip light adhesive failure, ensuring your lights stay securely mounted for the long haul.
Why LED Strip Light Adhesive Fails
Before diving into solutions, it’s essential to understand why LED strip lights detach from surfaces. Common causes include:
- Improper Surface Preparation- Dirt, dust, and oil residues weaken adhesion.
- Low-Quality Adhesive Tape- Not all mounting tape or adhesive tape is designed for long-term durability.
- Environmental Factors- Humidity, heat, and cold can affect adhesive strength.
- Surface Texture and Material- Some surfaces, like rough or glossy finishes, hinder proper adhesion.
- Poor Installation Technique- Applying strips incorrectly can compromise bonding strength.
Choosing the Right Mounting Tape for LED Strip Lights
1. 3M VHB Tape (Very High Bond)
- Offers excellent adhesion to various surfaces.
- Resistant to heat, moisture, and vibrations.
- Ideal for long-term applications.
2. Double-Sided Foam Tape
- Provides cushioning and flexibility.
- Works well on uneven or textured surfaces.
- Recommended for lightweight LED strip installations.
3. Acrylic-Based Adhesive Tape
- Designed for high-temperature resistance.
- Bonds well with metal, plastic, and painted surfaces.
- Ideal for outdoor or high-heat applications.
4. Nano Gel Tape
- Washable and reusable adhesive option.
- Strong grip on smooth surfaces like glass and tiles.
- Ideal for temporary or removable LED strip applications.
|
Acrylic Mounting Tape |
VHB Foam Mounting Tape |


How to Properly Prepare Surfaces for LED Strip Installation
To maximize adhesion, follow these preparation steps:
1. Clean the Surface Thoroughly
- Use isopropyl alcohol (IPA) or a degreaser to remove dust, grease, and residue.
- Avoid water-based cleaners that may leave a film behind.
2. Choose the Right Surface
- Best surfaces: Painted drywall, smooth wood, metal, and glass.
- Difficult surfaces: Textured walls, porous materials, and high-gloss finishes.
3. Ensure Dry and Stable Conditions
- Avoid installing in extreme humidity or temperature fluctuations.
- Let the surface dry completely before applying adhesive tape.
4. Apply Primer or Adhesion Promoter
- For difficult surfaces, a primer enhances bonding strength.
- Consider using 3M Adhesion Promoter 94 for challenging materials.
Proper Installation Techniques for LED Strip Lights
1. Measure and Plan Placement
- Before peeling the backing, measure and mark where the LED strip will go.
- Avoid placing strips near heat sources that may weaken the adhesive.
2. Apply Even Pressure
- Once positioned, press firmly along the entire length to activate the adhesive.
- Use a roller or a flat tool to ensure full contact with the surface.
3. Allow Adhesive to Cure
- Many mounting tapes require a curing time of 24-48 hours for full bonding strength.
- Avoid applying stress or repositioning strips during this period.
4. Use Additional Reinforcements (if necessary)
- For extra security, use mounting clips or brackets.
- Apply a few drops of hot glue at intervals to strengthen the adhesion.
Preventing LED Strip Light Adhesive Failure in Challenging Environments
High Humidity Areas (Bathrooms, Kitchens)
- Choose water-resistant adhesive tapes like acrylic-based tapes.
- Seal edges with clear silicone adhesive for extra moisture protection.
High-Temperature Areas (Near Windows, Electronics)
- Opt for heat-resistant mounting tapes such as 3M VHB.
- Keep LED strips away from direct heat exposure.
Rough or Textured Surfaces
- Use foam-based mounting tape to accommodate uneven surfaces.
- Consider using command strips or screw-mounted channels.
Outdoor Installations
- Choose UV-resistant adhesive tape for longevity.
- Apply a clear sealant over the strips for added protection.
Alternative Mounting Methods for LED Strip Lights
Aluminum LED Channels
- Provides a secure, professional-looking installation.
- Protects LED strips from dust and accidental damage.
Mounting Clips and Brackets
- Ideal for long LED runs or high-traffic areas.
- Prevents sagging and enhances longevity.
Hot Glue or Silicone Adhesive
- Works well for temporary or removable installations.
- Offers flexibility for curved surfaces.
Zip Ties and Velcro Straps
- Best for temporary setups or wire management.
- Ideal for mounting on metal or fabric surfaces.
Conclusion
Preventing LED strip light adhesive failure starts with choosing the right mounting tape, preparing the surface properly, and following the correct installation techniques. By selecting high-quality adhesive tape, cleaning surfaces thoroughly, and reinforcing strips in challenging environments, you can ensure a long-lasting and secure installation. If adhesive methods alone aren’t enough, alternative mounting solutions like aluminum channels, mounting clips, or silicone adhesives can provide additional stability.
About HitLights:
HitLights is a leading provider of high-quality LED lighting and low voltage LED drivers, and mounting supplies catering to diverse needs in residential, commercial, and event settings. With a commitment to innovation, eco-friendly lighting, and customer satisfaction, HitLights continues to illuminate spaces with innovations be it micro or macro technology.
By the way, if you are a professional installer, an integrator, or a business owner and you want to: Save MORE! And Do MORE Projects!
Get Factory Direct Pricing when you join our Professional Partner Program RISK-FREE, NO CONTRACTS, NO HASSLE PROCESS there is nothing to lose but MORE to GAIN!
If you have any additional questions, feel free to reach out to us at customerservice@hitlights.com or give us a call at 1 (855) 768-4135. Our team of expert engineers and electricians are here to assist you every step of the way!
*Disclaimer: The information provided in this article is for general informational purposes only.