
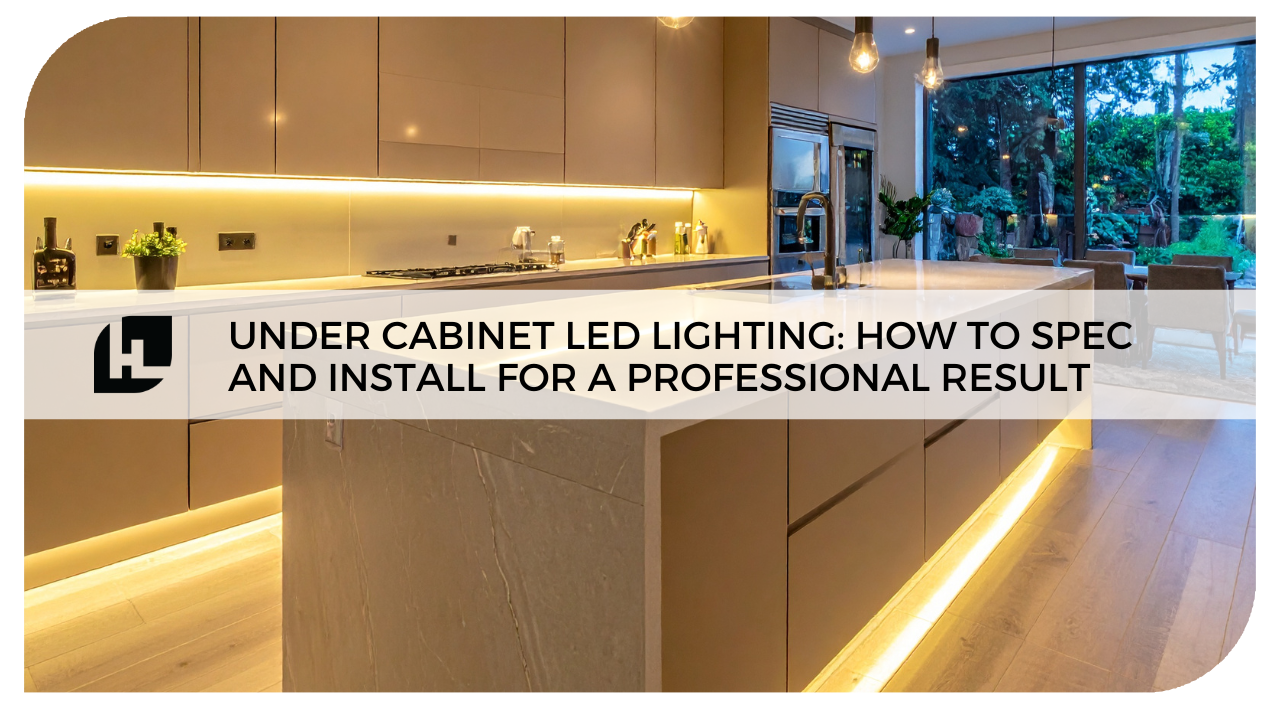
Under-cabinet lighting is one of the highest-value upgrades you can add to a kitchen. The light it produces is functional — it illuminates the countertop for food prep — but its real impact is aesthetic. When the rest of the kitchen lights are off and only the under-cabinet LEDs are on, the kitchen looks designed rather than merely functional.
Here's how to achieve that result from specification through installation.
Front, Rear, or Dual Rail: Cabinet Strip Placement
Where you place the strip on the underside of the cabinet determines the lighting pattern on the countertop:
- Front placement (strip near the cabinet door): Light falls primarily on the front of the countertop, illuminating the backsplash and task area. Most natural-looking from the room. Can create a visible glow along the cabinet front when viewed from the side.
- Rear placement (strip toward the wall): Light washes the backsplash and the back of the countertop. Minimal light near the cabinet door. Creates a dramatic backsplash highlight effect.
- Dual rail (strips at both front and rear): Full countertop coverage with minimal shadow zones. The premium approach for whole-kitchen installations. Requires more material but produces the most even, professional result.
For most residential installations, front placement delivers the best balance of task lighting and visual impact. Dual rail is the upgrade spec for high-end kitchens.
Hide the Strip: Why Aluminum Channels Are Not Optional
If the LED strip is visible from any normal standing position in the kitchen, the installation is not finished. A strip mounted directly to the cabinet underside with nothing but adhesive tape is visible when anyone stands at the counter. It shows LED dots through the tape, shows the copper substrate, and looks like an afterthought.
The correct approach is:
- Mount slim surface-mount aluminum channels to the cabinet underside
- Insert the LED strip inside the channel
- Snap on a frosted diffuser lens
The diffuser lens scatters the light to eliminate hot spots, and the aluminum channel positions the strip back from the cabinet face so the source is hidden from normal sightlines. This is the standard professional installation — not an upgrade.
For more on concealing strips properly, see our guide on how to hide LED strip lights.
Wiring and Connection Approach
Under-cabinet installations typically run across multiple cabinet sections separated by gaps (above the stove, above the sink, etc.). Each cabinet section is a separate channel run. The options for connecting them:
Option A: Parallel power feeds from a central supply. Run individual power leads from the driver to the start of each cabinet section. Each section is independently powered. This is the cleanest approach electrically and eliminates voltage drop accumulation across the run.
Option B: Series connection with connectors. Connect strip sections end-to-end using solderless connectors with wire leads to bridge the gaps. Faster to install but prone to voltage drop on longer runs and more connection points that can fail.
For professional installations, Option A (parallel feeds) is the correct approach. It's more material but more reliable. Learn more in our guide on how to connect LED strip lights for different cabinet configurations.
Channel Installation Sequence
- Measure each cabinet section and cut channels to exact length (use a metal hacksaw or tin snips)
- Mark the mounting clip positions (typically every 12–18 inches along the channel)
- Pre-drill pilot holes and mount the clips to the cabinet underside
- Snap the channel into the clips
- Cut the LED strip to the correct length at a marked cut point
- Insert the strip into the channel, adhesive side down
- Run wire leads out through the channel end cap or through a drilled hole in the cabinet bottom
- Snap the frosted diffuser lens into the channel
- Connect wire leads to the power supply and test before closing up
Spec Checklist
| Spec | Recommended Value | Why |
|---|---|---|
| Voltage | 24V | Handles full kitchen runs without voltage drop |
| CCT | 2700K or 3000K | Warm, inviting; complements most kitchen aesthetics |
| CRI | 90+ | Food and material colors appear accurate |
| Strip type | COB or high-density | No visible hotspots through diffuser |
| IP rating | IP20 minimum; IP44 above sink | Moisture protection where needed |
| Channel | Slim surface-mount with frosted diffuser | Professional appearance |
| Dimming | Yes — dimmable driver required | Clients always want to dim |
| UL Listed | Yes for permitted work | Code compliance |
Shop Under-Cabinet Lighting Products
- Single Color LED Strip Lights
- Aluminum Mounting Channels
- Dimmable LED Drivers
- Kitchen Lighting Collection
Updated July 2026 | HitLights — Factory-Direct LED Strip Lighting Since 2010